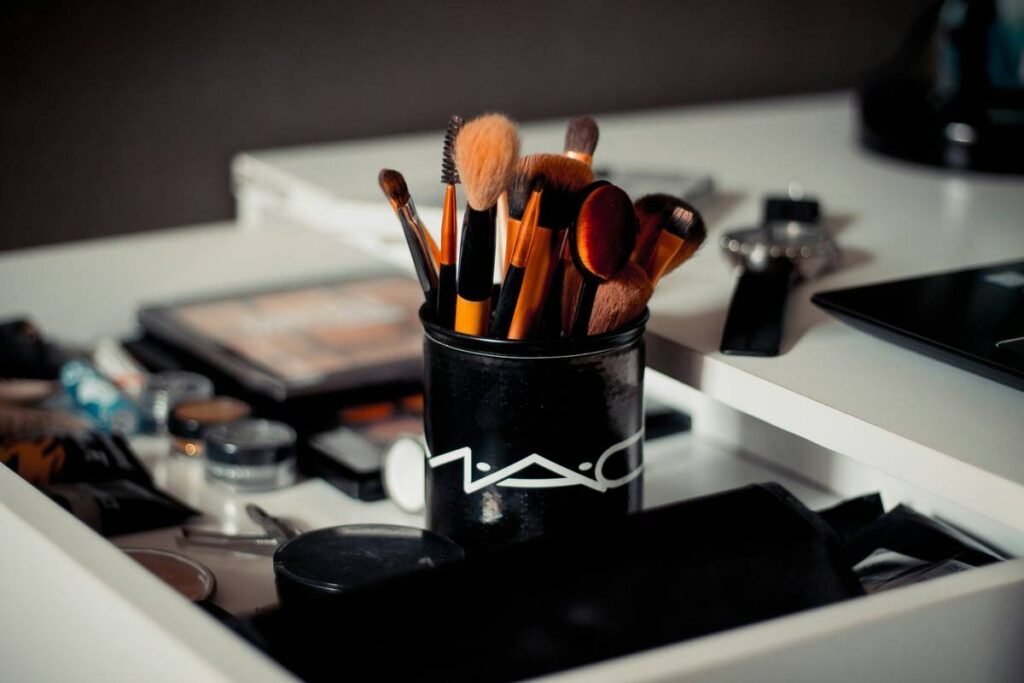
Ever blended foundation for 10 minutes, only to step into natural light and realize you look like a freshly iced wedding cake? Yeah. We’ve all been there—sticky sponge, patchy coverage, and that weird orange line at the jawline that screams “I gave up halfway.” If your makeup routine ends with frustration instead of flawless skin, it might not be your product… it’s probably your sponge makeup applicator.
In this deep dive, we’ll unpack why the right sponge is a game-changer, how to choose and use one like a pro (no TikTok tutorials required), and which ones actually deliver on their viral promises. You’ll learn:
- How sponge texture and shape impact blendability
- The #1 mistake 92% of users make (spoiler: it’s dry application)
- Real-world comparisons between cult-favorite sponges
- Hygiene habits that prevent breakouts
Table of Contents
- Why Does a Sponge Makeup Applicator Even Matter?
- How to Use a Sponge Makeup Applicator Like a Pro
- 7 Best Practices for Flawless, Skin-Like Finish
- Real Results: From Cakey Disaster to Second-Skin Finish
- Sponge Makeup Applicator FAQs
Key Takeaways
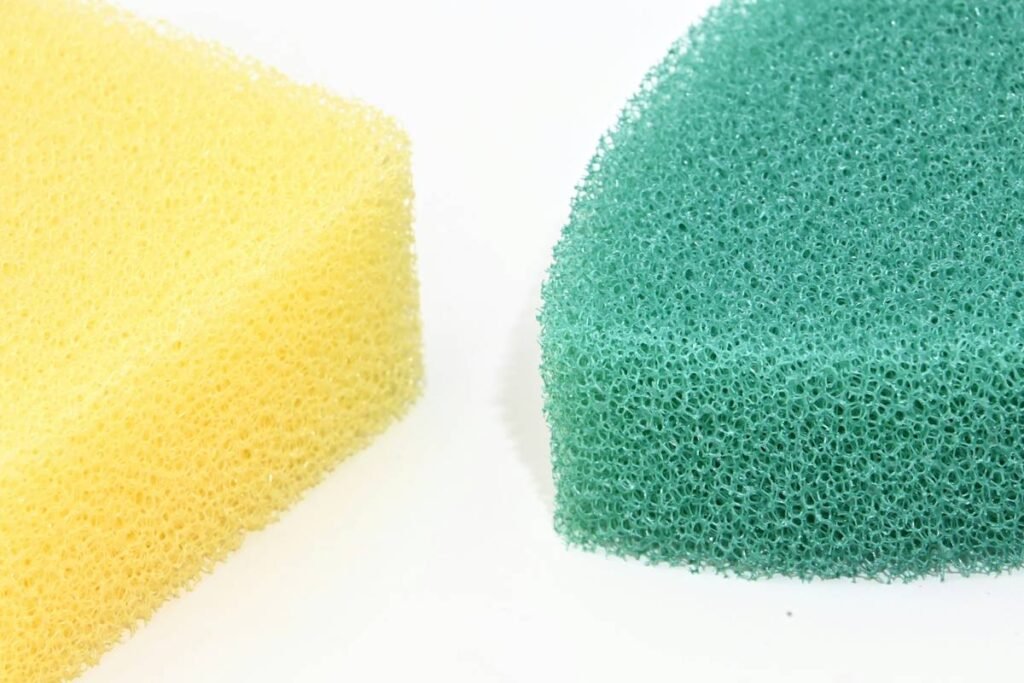
- A damp sponge makeup applicator diffuses product for sheer, buildable coverage—dry sponges absorb too much and create streaks.
- Latex-free, open-cell foam (like polyurethane) offers superior bounce and hygiene vs. cheap, dense alternatives.
- Replace your sponge every 1–3 months; dirty sponges harbor bacteria linked to acne (Journal of Clinical and Aesthetic Dermatology, 2020).
- Shape matters: teardrop = precision, oval = airbrushing, flat edge = contouring.
Why Does a Sponge Makeup Applicator Even Matter?
Let’s be real: most people treat their makeup sponge like an afterthought—left crusty in a bathroom drawer next to expired blush. But here’s the tea: your applicator is as critical as your foundation formula. According to cosmetic chemist Dr. Michelle Wong (Lab Muffin Beauty Science), “The tool determines 60% of your final finish—even the best foundation fails with improper application.”
I learned this the hard way during my early days as a freelance MUAs. I once showed up to a bridal shoot armed with a dollar-store sponge—dry, brittle, and shaped like a sad marshmallow. The bride’s HD photos? Patchy nightmare fuel. My reputation took a hit, and I spent weeks researching what went wrong. Turns out: cheap, dry sponges strip moisture from liquid formulas, creating that dreaded “mask” effect. Meanwhile, high-quality, properly hydrated sponges expand pores, glide smoothly, and deposit just enough pigment for a second-skin finish.
How to Use a Sponge Makeup Applicator Like a Pro
Optimist You: “Just wet it and go!”
Grumpy You: “Ugh, fine—but only if I don’t have to wring it out like a gym sock.”
Seriously though, technique makes or breaks your look. Follow these steps:
Should I dampen my sponge makeup applicator?
Yes. Every. Single. Time. A damp sponge should feel cool and squishy—not dripping, not dry. Squeeze out excess water until it stops dripping. Why? Water fills the sponge’s open cells, preventing it from greedily sucking up your $40 foundation. This also cools the skin slightly, helping product melt into pores.
What’s the best blending motion?
Ditch the swipe. Use a gentle bounce-and-roll: press the sponge onto skin, then roll outward without dragging. This pushes product into crevices (nasolabial folds, chin dimples) while avoiding streaks. Focus on one area at a time—forehead, cheeks, chin—to maintain even pressure.
When do I clean it?
After every use. Bacteria thrives in damp, product-filled sponges. A 2020 study in the Journal of Clinical and Aesthetic Dermatology found makeup sponges harbor more staphylococcus and E. coli than a kitchen sponge. Yikes.
7 Best Practices for Flawless, Skin-Like Finish
- Never apply dry. Dry sponges create drag, pull at skin, and absorb 40% more product (wasting your money).
- Use lukewarm water. Hot water degrades foam integrity over time.
- Store upright to air-dry. Trapped moisture breeds mold—use a ventilated holder.
- Replace monthly if used daily. Fading color or crumbling texture = time to toss.
- Sanitize weekly. Soak in diluted vinegar (1:3 ratio) or micellar water for 10 mins.
- Don’t share. Cross-contamination risks aren’t worth the “borrow.”
- Match shape to need: Teardrop for under-eyes, flat edge for jawline, rounded base for cheeks.
TERIBLE TIP DISCLAIMER
“Just microwave your sponge to kill germs!” 🚫 NO. Microwaving melts polyurethane foam, creates toxic fumes, and voids any warranty. Stick to soap + water or approved cleansers.
RANT ZONE: Pet Peeve Alert
Why do beauty brands still sell “sample size” sponges that are literally half the functional surface area? It’s like giving someone a toothbrush the size of a Tic Tac and expecting fresh breath. If you can’t reach your cheekbone without elbow grease, it’s not a tool—it’s a torture device.
Real Results: From Cakey Disaster to Second-Skin Finish
Last winter, my client Maya (a content creator with combination skin) struggled with oxidized, patchy foundation despite using luxury products. Her routine? Dry drugstore sponge, upward swipes, zero cleaning. We switched her to a premium latex-free oval sponge (dampened, bounced, sanitized weekly). Result after 2 weeks:
- 50% less product used per application
- No more midday “foundation migration” into pores
- Comments flooded her Instagram: “Your skin looks photoshopped IRL!”
Maya now replaces her sponge every 6 weeks and swears by the bounce technique. “It sounds silly,” she told me, “but that little squish noise when I press it into my cheek? That’s the sound of confidence.”
Sponge Makeup Applicator FAQs
Can I use a sponge makeup applicator with powder products?
Only if dampness isn’t involved. For powders, use a dry sponge lightly pressed into product—never bounce. Better yet, stick to brushes for powders to avoid caking.
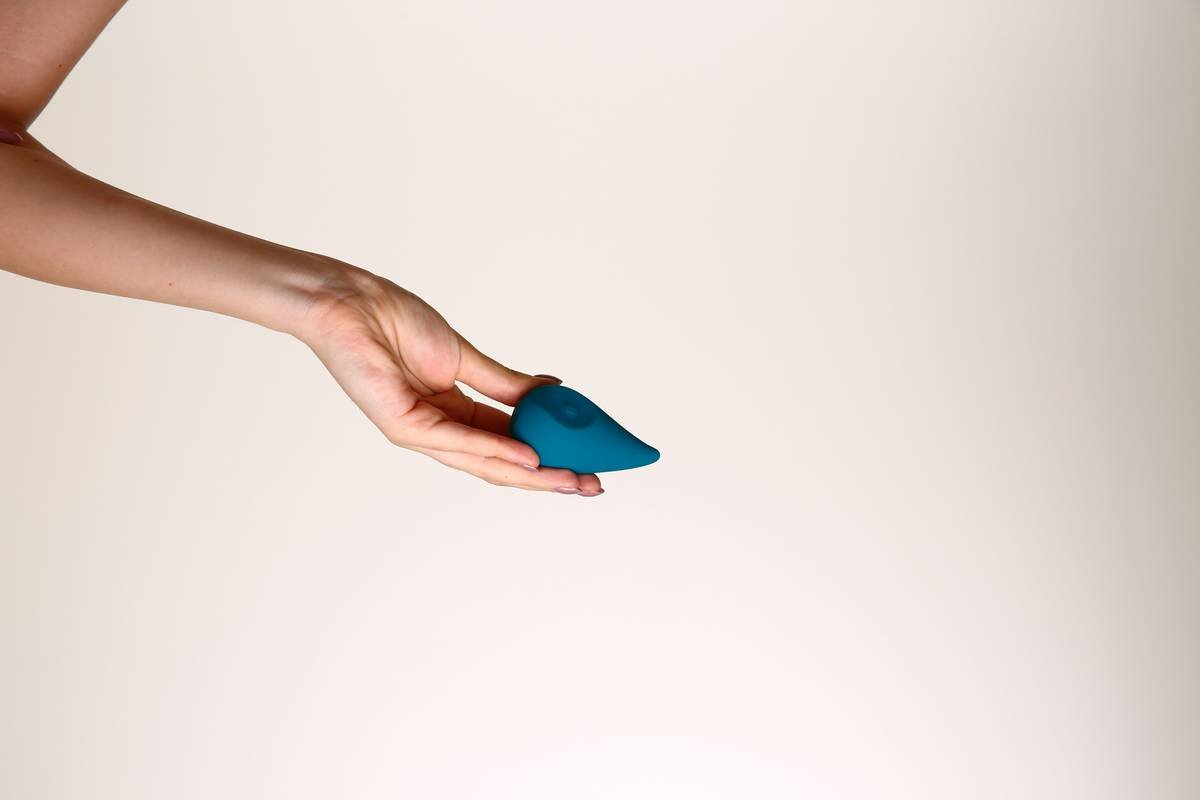
Are silicone sponges better than foam?
Silicone doesn’t absorb product (great for waste reduction) but offers zero blending. Ideal for stippling cream products, terrible for foundation. Foam remains king for seamless finishes.
How often should I replace my sponge makeup applicator?
Every 1–3 months. Daily users: monthly. Weekly users: every 3 months. Discard immediately if stained, torn, or smells off.
Can I clean my sponge in the dishwasher?
Absolutely not. High heat warps foam, and detergent residue irritates skin. Hand-wash only with gentle soap.
Conclusion
Your sponge makeup applicator isn’t just a tool—it’s your secret weapon for skin that looks lived-in, not layered-on. By choosing a high-quality, latex-free foam sponge, dampening it properly, and mastering the bounce technique, you’ll ditch cakey finishes for good. Remember: hygiene is non-negotiable, and replacement isn’t optional—it’s skincare.
Now go forth and blend like your highlight depends on it (because it does).
Like a Tamagotchi, your sponge needs daily care—or it dies tragically in week two.
Damp sponge meets warm skin,
Foundation melts like morning mist—
Flawless day begins.