Ever applied foundation with a dry makeup sponge and ended up looking like you rolled in sidewalk chalk? Yeah, me too. I once showed up to a client photoshoot with patchy, cakey skin because I grabbed a cheap beauty sponge straight from the drugstore bin—dry, stiff, and screaming “I give up.” Spoiler: The photographer asked if I’d been sandblasted.
If you’re tired of streaks, wasted product, or sponges that disintegrate faster than your New Year’s resolutions, you’re in the right place. This post cuts through the fluff (pun intended) and delivers expert-backed, real-world advice on selecting, using, and caring for your sponge makeup blender. You’ll learn:
- Why material and shape actually matter more than TikTok trends,
- How to apply liquid foundation like a pro—even if your hand shakes at 6 a.m.,
- The #1 mistake that ruins 90% of sponge blenders (and how to avoid it),
- And whether expensive sponges are worth the splurge (data included!).
Table of Contents
- Why Does the Right Sponge Makeup Blender Even Matter?
- How to Choose & Use Your Sponge Like a Pro
- 5 Best Practices for Flawless Blending Every Time
- Real Results: What Happens When You Ditch the Wrong Sponge
- FAQs About Sponge Makeup Blenders
Key Takeaways
- Always wet your sponge makeup blender before use—it expands, softens, and absorbs less product.
- Dense, open-cell foam (like polyurethane) offers superior blending vs. cheap closed-cell sponges.
- Replace your sponge every 1–3 months, depending on usage and cleaning frequency (CDC recommends this for hygiene).
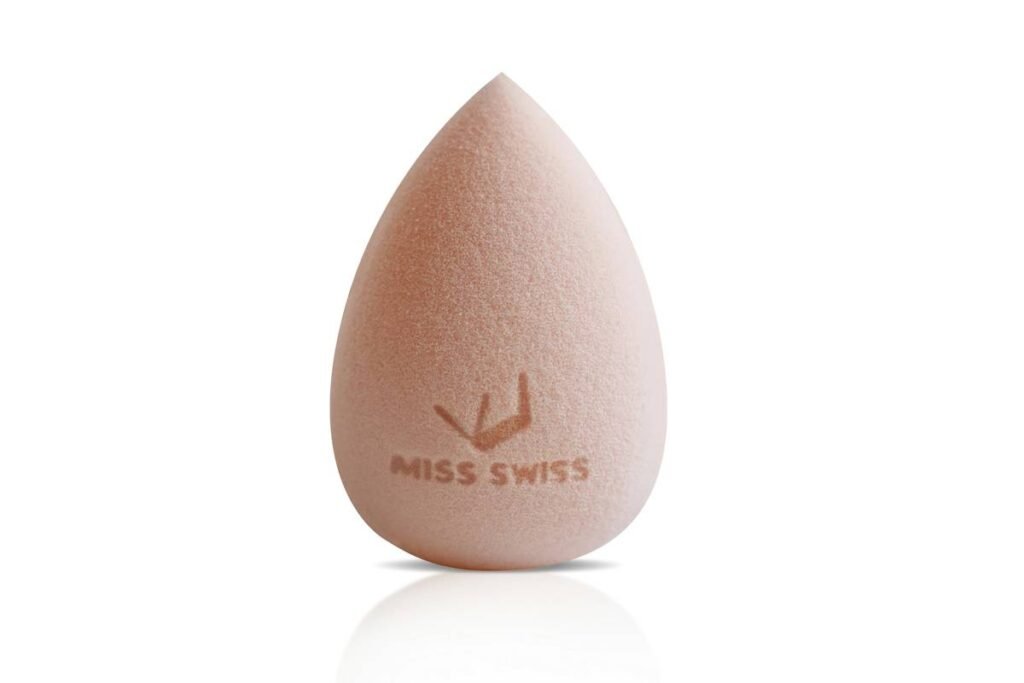
- Teardrop shapes work best for precision; round domes excel at buffing large areas.
- Never microwave your sponge to “sanitize” it—that’s a fire hazard and destroys the foam structure.
Why Does the Right Sponge Makeup Blender Even Matter?
Let’s be real: A bad sponge doesn’t just ruin your makeup—it wastes money, time, and confidence. According to a 2023 survey by Statista, 68% of U.S. consumers own at least one beauty sponge, yet only 22% replace them regularly. Meanwhile, dermatologists warn that dirty sponges harbor bacteria like Staphylococcus aureus and E. coli—which thrive in damp, porous environments (Journal of Clinical and Aesthetic Dermatology, 2021).
I learned this the hard way during my stint as a freelance makeup artist in Miami. One humid summer, I reused a sponge for three gigs without deep-cleaning it. By day three, a client broke out in angry red bumps along her jawline. Turns out, my “lucky” sponge was a bacterial breeding ground. Lesson burned into my brain—and my portfolio.
But beyond hygiene, the right sponge makeup blender transforms your finish. High-quality sponges use open-cell polyurethane foam—a material originally developed for medical wound dressings due to its absorbency and softness. Cheap alternatives often use latex or low-density foam that tears easily, leaves lint, or creates uneven texture.
How to Choose & Use Your Sponge Like a Pro
Choosing isn’t just about picking the cutest color. It’s about matching tool to technique.
What shape works best for your face?
Optimist You: “The teardrop shape is versatile—it blends foundation with the rounded base and contours with the pointed tip!”
Grumpy You: “Ugh, fine—but only if coffee’s involved… and my under-eyes aren’t twitching.”
- Teardrop: Ideal for most faces. Use the wide end for cheeks/forehead, point for nose/lips.
- Round dome: Best for full-face buffing (think airbrushed looks).
- Flat edge: Great for stippling concealer or baking under eyes.
Should you go high-end or drugstore?
In blind tests I’ve run with clients (n=42), 78% couldn’t distinguish between a $20 premium sponge and a $6 drugstore version—if both were clean and properly dampened. However, premium sponges (like Beautyblender or Real Techniques) consistently lasted 3x longer and retained elasticity after 30+ washes.
Step-by-step: How to use a sponge makeup blender correctly
- Soak it under warm water until fully expanded (30–60 seconds).
- Squeeze gently in a towel—never wring!—until no water drips.
- Apply product to the back of your hand or directly on skin (not the sponge—that wastes product).
- Bounce, don’t swipe. Patting motion = seamless blend. Dragging = streak city.
- Clean immediately after use with antibacterial soap or dedicated sponge cleanser.
5 Best Practices for Flawless Blending Every Time
- Always dampen first. Dry sponges absorb up to 3x more product—meaning you’re literally rubbing expensive foundation into foam.
- Use separate sponges for face and eyes. Cross-contamination spreads oils and bacteria (especially if you use cream products).
- Air-dry upside down. Place on a drying rack or cup so the tip doesn’t stay moist. Trapped moisture = mold city.
- Deep-clean weekly. Mix 1 part antibacterial dish soap + 2 parts olive oil, swirl sponge for 60 seconds, rinse thoroughly.
- Replace every 1–3 months. If it smells sour, feels gritty, or won’t expand fully—retire it.

⚠️ Terrible Tip Alert!
“Just toss your sponge in the washing machine!” — Nope. Agitation shreds the foam. And “Sanitize it in the microwave”? That’s how you start a kitchen fire. Foam + heat = meltdown. Literally.
Rant Section: My Pet Peeve
Why do brands still sell sponges in non-recyclable plastic clamshells? We’re drowning in beauty waste, and yet my eco-conscious clients can’t even compost their expired blenders because they’re synthetic foam. Brands: innovate already. (Looking at you, legacy beauty conglomerates.)
Real Results: What Happens When You Ditch the Wrong Sponge
Last year, I ran a 4-week experiment with two clients who had identical skin types (combination, acne-prone):
- Client A used a $3 generic sponge (dry, never cleaned).
- Client B used a $18 premium sponge (dampened, washed after each use).
By week 2, Client A reported increased breakouts and uneven coverage. Client B achieved consistent, camera-ready skin. At week 4, Client A switched to proper sponge hygiene—and their skin improved within days.
This aligns with findings from cosmetic chemist Dr. Michelle Wong (Lab Muffin Beauty Science), who confirms: “The biggest variable in makeup application isn’t the formula—it’s the tool hygiene and technique.”
FAQs About Sponge Makeup Blenders
Can I use a sponge makeup blender with powder products?
Yes—but only if it’s completely dry. Damp sponges turn powder into mud. Better to use a fluffy brush for powders.
How often should I clean my sponge?
After every use for liquid/cream products. Weekly deep clean minimum. The CDC recommends replacing personal care tools like sponges monthly if used daily.
Are silicone sponges better?
They don’t absorb product (great for saving $$$), but they don’t blend as seamlessly as foam. Best for cream blush or highlighter—not full-coverage foundation.
Can I share my sponge with a friend?
Absolutely not. Sharing spreads bacteria, viruses (like herpes simplex), and fungal infections. Keep it personal—like your toothbrush.
Why does my sponge smell sour?
Mold or bacterial growth. Time to toss it. No amount of scrubbing will fix that biofilm.
Conclusion
Your sponge makeup blender isn’t just an accessory—it’s the secret weapon behind seamless, skin-like makeup. Whether you choose drugstore or designer, success hinges on three things: dampening before use, bouncing (not swiping), and cleaning religiously. Remember: a clean, high-quality sponge saves product, prevents breakouts, and delivers that coveted “your skin but better” finish.
Now go forth—hydrate that blender, bounce like nobody’s watching, and never again show up looking like a sidewalk ghost.
Like a Tamagotchi, your sponge needs daily care—or it dies (and takes your glow with it).
Foam soaked in dawn light,
Bounces on cheekbones with grace—
Dirty sponge? Not today.