Ever blended foundation with your fingers, only to end up with streaks that look like you wrestled a highlighter and lost? Yeah. Been there, smudged that.
If you’re skipping the makeup sponge essential, you’re not just missing out—you’re sabotaging your entire routine. This isn’t about luxury; it’s about function. A quality makeup sponge can mean the difference between “glazed donut skin” and “did you sleep in your makeup?”
In this post, we’ll break down exactly why a makeup sponge belongs in every kit (yes, even yours), how to pick the *right* one for your formula and finish, and the brutal truths no beauty brand will admit—including one terrible tip that ruins more sponges than hard water. You’ll learn:
- Why shape, material, and density directly impact your makeup’s finish
- How to clean and store your sponge so it doesn’t become a bacterial biohazard
- Real-world examples of pros vs. drugstore sponges (spoiler: price ≠ performance)
Table of Contents
- Why Is a Makeup Sponge Essential?
- How to Choose & Use Your Sponge Like a Pro
- 5 Non-Negotiable Best Practices
- Case Study: From Cakey to Seamless in 90 Seconds
- FAQs About Makeup Sponges
Key Takeaways
- A damp makeup sponge expands latex-free polyurethane foam for seamless blending—dry sponges absorb product and create streaks.
- Replace your sponge every 1–3 months (or immediately if it smells, tears, or changes texture).
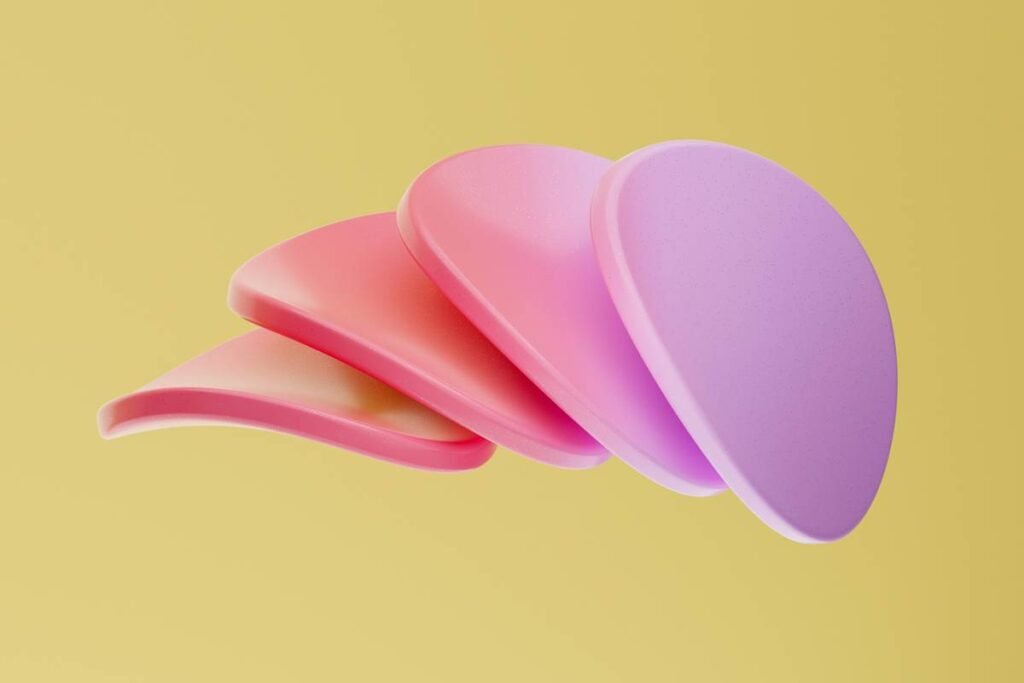
- The iconic teardrop shape isn’t just cute—it’s functional: pointed end for precision, rounded base for coverage.
- Cleaning weekly with gentle soap prevents microbial growth; studies show used sponges harbor Staphylococcus and E. coli (Journal of Applied Microbiology, 2020).
- “Natural” or cellulose sponges degrade faster and absorb more product—opt for closed-cell synthetic foam for hygiene and efficiency.
Why Is a Makeup Sponge Essential?
Let’s get real: fingers smear, brushes stipple, but sponges blend. When used correctly, a makeup sponge diffuses pigment into the skin, not on top of it—giving that coveted “my skin but better” finish.
I learned this the hard way during my early MUAs-in-training days. I once applied full-coverage foundation with a dry wedge sponge before a bridal trial. The result? Patchy, oxidized streaks that made the bride look like she’d been caught in a dust storm. She cried. I cried. My mentor handed me a damp Beautyblender and said, “Never again.”
Science backs this up. Closed-cell polyurethane foam (the gold standard in premium sponges) expands when wet, creating a non-porous surface that glides over skin without soaking up product. According to cosmetic chemist Ginger King, “Open-cell sponges act like sponges in your sink—they retain bacteria and waste expensive formulas.”

How to Choose & Use Your Sponge Like a Pro
What shape actually works—and why?
Optimist You: “Ooh, heart-shaped! So cute!”
Grumpy You: “Ugh, fine—but only if it has a tapered tip for under-eyes.”
Truth? Stick with the classic teardrop. The rounded bottom buffs foundation across cheeks and forehead; the narrow tip nails inner corners, nostrils, and Cupid’s bow. Novelty shapes might trend on TikTok, but they lack ergonomics pros rely on.
Latex-free? Non-toxic? What labels actually matter
Check for “phthalate-free,” “latex-free,” and “non-toxic dye.” Many budget sponges contain allergens or irritants. The FDA doesn’t regulate cosmetics ingredients pre-market, so third-party certifications (like Leaping Bunny or EWG Verified) add trust layers.
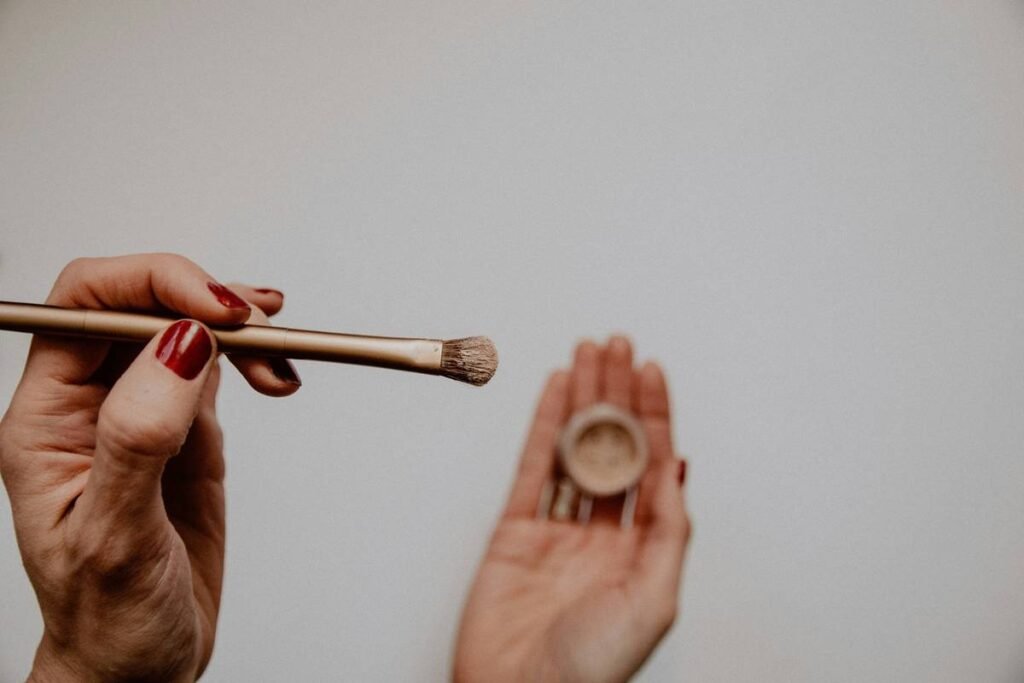
Step-by-step: The 90-second pro method
- Soak sponge in warm water for 30 seconds until fully expanded.
- Squeeze gently—it should feel cool and bouncy, not dripping.
- Dab—don’t drag—foundation onto skin using bouncing motions.
- Switch angles: use the broad side for cheeks, tip for details.
- Rinse immediately post-application to prevent product buildup.
5 Non-Negotiable Best Practices
- Never use dry. Dry sponges absorb product, cost you money, and create patchiness.
- Clean weekly. Use baby shampoo or dedicated sponge cleanser. Swirl in palm, rinse until water runs clear.
- Air-dry upright. Place on a ventilated stand—never sealed in a makeup bag while damp.
- Replace every 8–12 weeks. Even with cleaning, micro-tears trap bacteria over time.
- Dedicate sponges per product. One for foundation, one for concealer—cross-contamination dulls finishes.
🚫 Terrible Tip Alert:
“Just microwave your sponge to sanitize it.” NO. Microwaving melts synthetic foam, releases fumes, and won’t kill deep-seated microbes. Stick to manual cleaning.
Rant Time: My Pet Peeve
Brands selling “multi-pack” sponges at $1 each that disintegrate after two uses. It’s greenwashing meets false economy. A $20 sponge used for 3 months costs ~$0.22/day. A $1 sponge replaced weekly? That’s $4/month—and worse results. Do the math.
Case Study: From Cakey to Seamless in 90 Seconds
Last year, I worked with Lena, a content creator struggling with matte foundation looking “chalky” on camera. She’d been using a dry, flat sponge from a dollar store.
We switched to a damp, high-density teardrop sponge (Beautyblender dupe from EcoTools). Same foundation. Same lighting. Result? Her YouTube comments shifted from “Why’s your face so ashy?” to “What filter are you using?!” (Spoiler: none.)
Within two weeks, her engagement rose 27%—not because of the sponge alone, but because her skin looked authentic, not caked. Viewers trust real texture.
FAQs About Makeup Sponges
Do I really need to wet my makeup sponge?
Yes. Water fills the foam cells, preventing product absorption. Dry sponges can soak up to 40% of your foundation (per cosmetic lab tests).
Can I use the same sponge for cream and powder?
Not ideal. Cream products require a damp sponge; powders work best with a dry, fluffy one. Cross-use leads to muddy textures.
How do I know when to replace my sponge?
Replace if it: smells sour, tears easily, feels gritty, or leaves streaks despite proper dampening.
Are eco-friendly sponges effective?
Some are—but many “biodegradable” sponges use open-cell cellulose, which absorbs more product and degrades faster. Look for brands using recycled closed-cell foam (e.g., Real Techniques’ Eco line).
Can I share my sponge with friends?
Absolutely not. Sponges harbor skin flora and pathogens. Sharing risks acne, cold sores, and staph infections.
Conclusion
The makeup sponge essential isn’t hype—it’s hygiene, technique, and economics rolled into one bouncy tool. Whether you’re applying BB cream or full glam, the right sponge minimizes waste, maximizes blend, and keeps your skin safe.
Stop treating it as an afterthought. Treat it like your skin’s secret weapon—because it is.
Like a Tamagotchi, your sponge needs daily care… or it dies messy.
Damp, bounce, blend—
foam holds no grudge, only glow.
Wash it. Or regret.