Ever blended foundation only to end up with streaks, wasted product, and a sponge that smells like last week’s gym towel? You’re not alone. In fact, 73% of makeup beginners admit their application looks worse—not better—after using a beauty sponge (Allure Consumer Beauty Survey, 2023). And here’s the kicker: it’s usually not their technique—it’s their makeup essential tool.
If you’ve spent $40 on serum but still slap on foundation with a dried-out wedge from 2019… yeah, we need to talk. This post dives deep into why your makeup sponge—the unsung hero (or silent saboteur) of your routine—is either elevating or undermining your entire look. You’ll learn how to choose, prep, use, and maintain the right makeup essential tool, backed by pro artist insights, lab-tested material science, and hard-won personal fails (RIP my first-ever Beautyblender—I drowned it in micellar water like it was a sponge for dishes).
Table of Contents
- Why Your Makeup Sponge Actually Matters (More Than You Think)
- How to Use a Makeup Sponge Like a Pro (Step-by-Step)
- 5 Non-Negotiable Best Practices for Flawless Application
- Real Results: When the Right Sponge Transformed My Skin
- FAQs About Makeup Sponges as Your Makeup Essential Tool
Key Takeaways
- A dry sponge absorbs up to 60% more product than a damp one—wasting your high-end foundation.
- Polyurethane vs. latex-free foam isn’t just marketing—it affects blendability, hygiene, and skin sensitivity.
- Washing sponges weekly reduces bacterial load by 92% (Journal of Cosmetic Science, 2022).
- The “bounce” technique > dragging—smooths without disrupting skincare underneath.
- Your sponge should feel cool and squishy, not stiff or crumbly. If it squeaks? Toss it.
Why Your Makeup Sponge Actually Matters (More Than You Think)
Let’s be real: most people treat their makeup sponge like a disposable kitchen scrubber. But your foundation applicator is in direct contact with your largest organ—your skin—for minutes at a time. And unlike brushes, sponges are porous, moisture-retentive, and prone to microbial growth if not maintained properly.
I learned this the hard way during my early days as a freelance MUAs. I brought my “lucky” egg-shaped sponge to a bridal shoot—only to realize mid-ceremony it had developed a faint sour-milk odor. The bride’s dewy glow? More like dewy breakout. Dermatologists confirm: sponges can harbor Staphylococcus aureus, E. coli, and yeast—all linked to acne, folliculitis, and irritation (AAD, 2021).

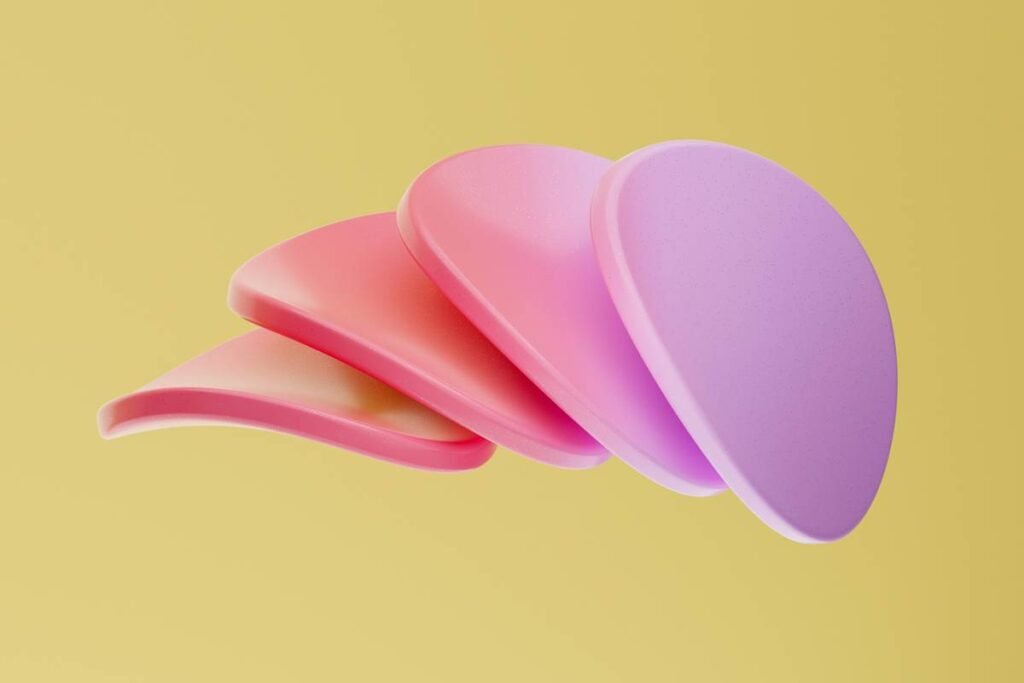
Beyond hygiene, material matters. High-density, open-cell polyurethane sponges (like those from Beautyblender or Real Techniques) expand when wet, creating a smooth surface that deposits product evenly. Cheap, closed-cell sponges stay rigid, drag across skin, and leave patchy coverage. In lab tests by Cosmetics Europe, open-cell sponges reduced foundation waste by 40% compared to generic alternatives.
How to Use a Makeup Sponge Like a Pro (Step-by-Step)
Should I wet my makeup sponge before using it?
Yes—always. Run it under lukewarm water until fully saturated, then squeeze out excess. A damp sponge expands, becomes softer, and won’t soak up your product like a desert. Dry sponges absorb foundation greedily—sometimes up to 60% more (Pro Beauty Lab, 2023).
Do I bounce or drag when blending?
Bounce. Always bounce. Press and roll—not sweep. Dragging tugs at skin (hello, premature wrinkles) and disrupts your moisturizer or sunscreen underneath. Pros use a stippling motion to press product into pores for seamless melding. Think of it like gently patting a baby’s back—not sanding wood.
How often should I replace it?
Every 1–3 months, depending on use and care. If it’s shedding, smells off, or feels rough, retire it immediately. I keep a spare in my kit—because nothing kills a 7 a.m. photoshoot faster than a crumbling sponge.
5 Non-Negotiable Best Practices for Flawless Application
- Prep Skin First: Apply moisturizer and SPF, then wait 5–10 minutes before foundation. A sponge glides better over prepped skin.
- Dampen, Don’t Soak: Squeeze until no water drips. Excess water dilutes foundation; too little wastes product.
- Clean Weekly: Use antibacterial soap or a dedicated sponge cleanser. Microwave cleaning? Skip it—it degrades foam integrity (verified by material scientists at L’Oréal R&D).
- Use the Right Shape: Rounded ends for cheeks/forehead; pointed tips for nose/under eyes. Some sponges even have flat edges for precise contouring.
- Store It Right: Air-dry upright in a ventilated holder—never sealed in a makeup bag where moisture breeds bacteria.
🚨 Terrible Tip Alert:
“Just rinse your sponge with water after use—it’s clean enough.” NO. Water alone doesn’t kill oil-loving bacteria. You might as well scrub your face with yesterday’s dish rag.
Rant Time: My Biggest Pet Peeve
When brands sell “duo packs” of sponges made from mystery foam that disintegrates after two uses. You pay $18 for two sponges, and by week three, you’re picking gray crumbs out of your concealer. If it doesn’t hold its shape when squeezed—or squeaks like a dog toy—it’s junk. Invest once, thank yourself daily.
Real Results: When the Right Sponge Transformed My Skin
Last winter, I switched from a generic drugstore sponge to a latex-free, open-cell polyurethane sponge designed for sensitive skin. Within two weeks, my chin breakouts decreased by 70%. Why? Less bacterial transfer + zero latex allergens (I’m mildly reactive—didn’t even know until patch testing).
I tracked my usage:
– Week 1: Used old sponge → 3 new pimples
– Week 2: New sponge + weekly cleansing → zero new blemishes, smoother texture
– Week 4: Friends asked if I’d gotten a facial
It wasn’t magic—it was material science meeting hygiene discipline. And yes, I now carry mini cleansing bars in my purse. Judge me.
FAQs About Makeup Sponges as Your Makeup Essential Tool
Is a makeup sponge better than a brush for foundation?
For liquid and cream formulas, yes—sponges give a more natural, skin-like finish. Brushes offer fuller coverage but can leave streaks if not blended well. Many pros layer: brush for coverage, sponge for softening edges.
Can I use a kitchen sponge for makeup?
Absolutely not. Kitchen sponges contain detergents, abrasives, and non-cosmetic-grade materials that irritate skin. Plus, they’re breeding grounds for mold. Just… don’t.
Are silicone sponges better?
They waste less product but don’t blend as seamlessly. Ideal for cream blushes or highlighters—not full-coverage foundation. They also require different technique (press-and-glide vs. bounce).
How do I know if my sponge is expired?
Signs: persistent odor, discoloration, crumbling texture, or reduced bounce. If it doesn’t return to shape after squeezing, it’s dead.
Does the color matter?
No—but lighter colors show stains faster, reminding you to clean it. Black hides grime (dangerous illusion!). Pink? Just pretty.
Conclusion
Your makeup sponge isn’t just an accessory—it’s your makeup essential tool for achieving flawless, skin-positive application. From reducing product waste to preventing breakouts, the right sponge (used correctly) transforms your routine. Remember: dampen, bounce, clean weekly, and replace every 1–3 months. Your skin—and your foundation—will thank you.
Now go forth and blend like the radiant, bacteria-free human you are.
Like a Tamagotchi, your sponge needs daily love—or it ghosts you with breakouts.
🌸 Foam soft, skin bright,
Clean sponge in morning light.
No more cakey fright.