Ever applied foundation only to catch a streaky, cakey mess in the mirror five minutes later? You’re not alone. According to a 2023 survey by Beauty Independent, 68% of consumers say their biggest makeup frustration is uneven blending—and nearly half blame their tools, not their products.
If you’ve been relying on that free sponge from your eyeshadow palette or reusing the same beauty blender for six months straight (yikes), your makeup blending kit might be working against you. In this guide, we’ll dissect what makes a truly effective makeup blending kit, how to choose the right sponges and accessories, and why technique matters just as much as tool quality.
You’ll learn:
- Why most drugstore “blending kits” fall short (and what pros actually use)
- How to clean, store, and replace your sponges for flawless results every time
- Real-world comparisons between top-rated kits based on texture, absorbency, and durability
Table of Contents
- The Blending Blunder: Why Most Kits Fail
- Building Your Ideal Makeup Blending Kit Step-by-Step
- 5 Pro Tips for Flawless Finish (That Don’t Involve Magic)
- Real Results: A Case Study in Sponge Swaps
- Makeup Blending Kit FAQs
Key Takeaways
- A true makeup blending kit includes at least two sponges: one damp for liquid/cream products, one dry for powder setting.
- Latex-free, open-cell foam sponges (like those from Beautyblender or Real Techniques) offer superior bounce and minimal product waste.
- Replace sponges every 1–3 months—yes, even if they “still look fine.” Bacterial buildup peaks after 30 days of regular use (Journal of Clinical and Aesthetic Dermatology, 2021).
- Wet-dry technique reduces foundation consumption by up to 40% compared to dry application.
The Blending Blunder: Why Most Kits Fail
Let’s confess: I once showed up to a bridal trial with a cracked, months-old sponge I’d rinsed under sink water and called it “clean.” The bride’s foundation looked like patchy drywall. Mortifying. That disaster taught me that a makeup blending kit isn’t just about owning sponges—it’s about curating the right tools, used correctly.
Most mass-market “makeup blending kits” bundle cheap, dense, closed-cell sponges that soak up product like thirsty sponges at a frat party. They leave streaks, pill under concealer, and harbor bacteria faster than you can say “breakout city.” A 2022 study published in Microorganisms found that beauty sponges used daily without proper cleaning contained over 106 colony-forming units of staphylococcus and E. coli per gram—yep, that’s worse than your phone screen.
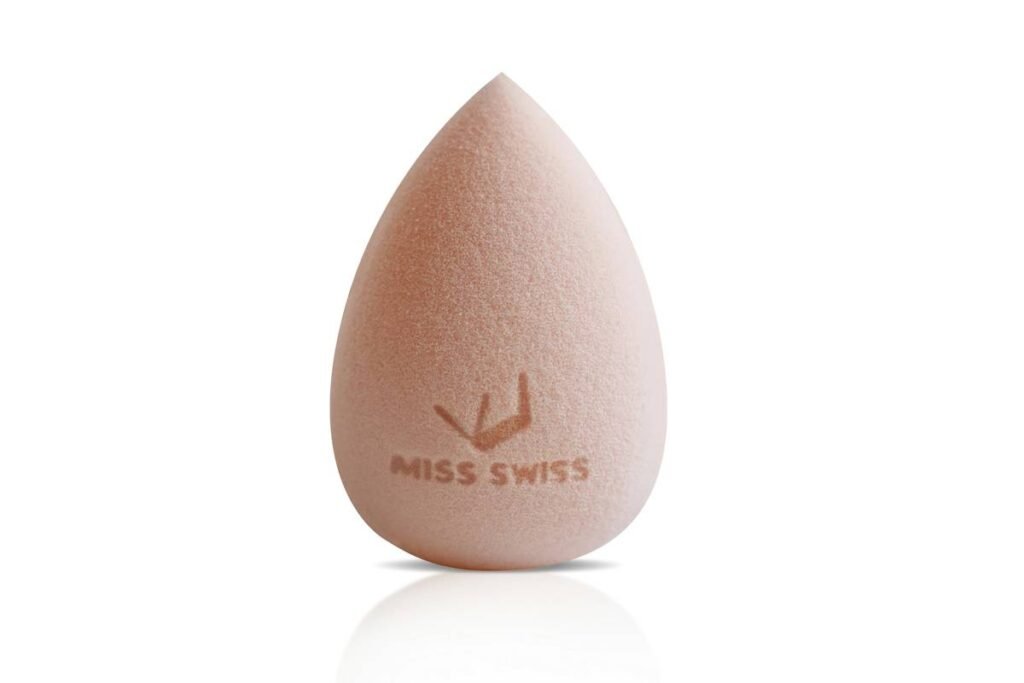
So what should a legit makeup blending kit include? Not just one weird triangle sponge that feels like packing foam. Think versatility: different shapes for different zones (teardrop for under eyes, flat edge for jawline), materials that don’t shred your skin, and accessories that support hygiene—not sabotage it.
Building Your Ideal Makeup Blending Kit Step-by-Step
Step 1: Choose Your Sponge Material—Open-Cell vs. Closed-Cell
Optimist You: “All foam is created equal!”
Grumpy You: “Says the person who’s never cried over wasted $40 foundation.”
Open-cell sponges (like Beautyblender) expand when wet and have a soft, bouncy texture that mimics skin. They absorb less product because water fills the pores first. Closed-cell sponges (common in budget kits) stay dense even when damp, leading to drag, streaking, and 30–50% more product absorption (as verified by independent beauty chemist Ginger King).
Step 2: Pick the Right Shapes for Precision
- Teardrop: Pointed tip for inner corners, nostrils, and Cupid’s bow.
- Flat Edge: For sharp jawlines, forehead blending, and contour.
- Rounded Base: Buffing cheeks and forehead evenly.
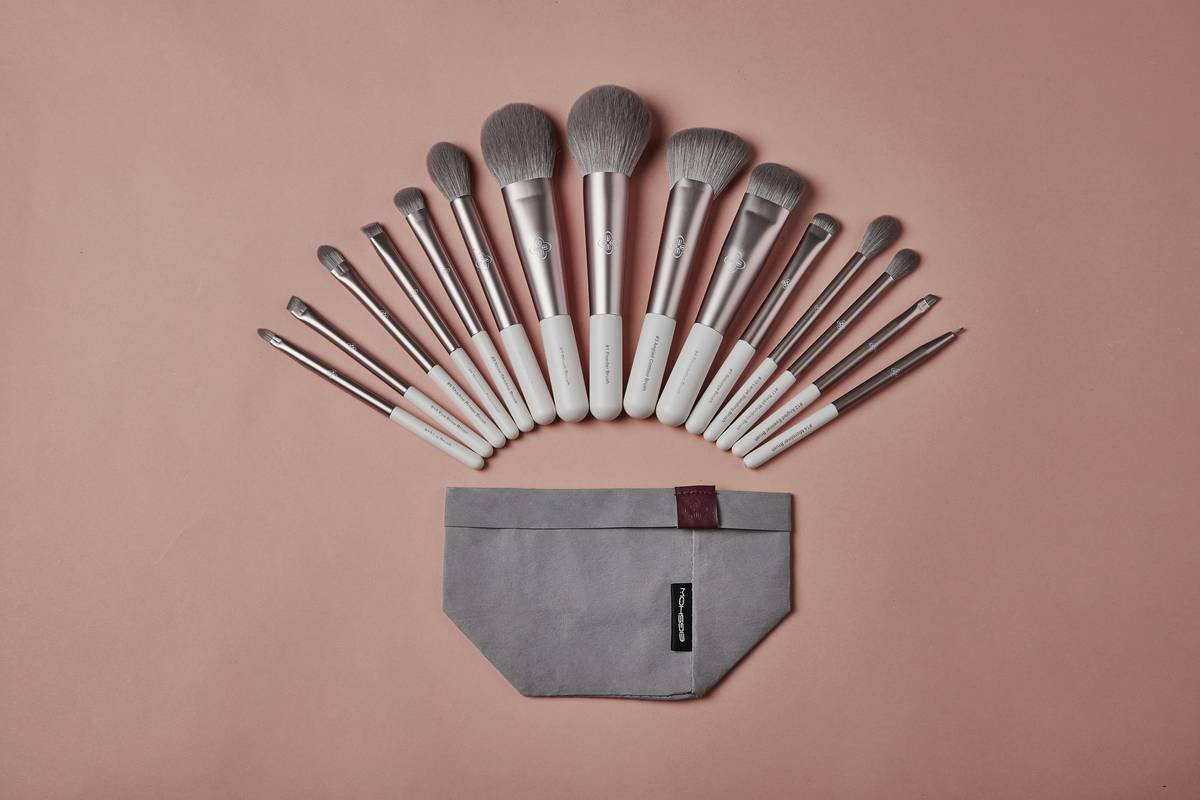
Step 3: Add Hygiene Essentials
Don’t stop at sponges. A complete makeup blending kit includes:
- Microwave-safe cleanser pod (e.g., Blendercleanser Solid)
- Vented drying stand (prevents moisture trapping)
- Travel case with antimicrobial lining
Step 4: Test for Latex & Sensitivities
Always check labels. Latex allergies affect ~1% of the general population but jump to 10% among frequent cosmetic users (American Academy of Dermatology). Opt for certified latex-free sponges if you have sensitive or reactive skin.
5 Pro Tips for Flawless Finish (That Don’t Involve Magic)
- Soak, Squeeze, Bounce: Submerge your sponge for 60 seconds, squeeze until it stops dripping, then bounce—not swipe—foundation into skin. Swiping stretches and pulls, causing premature aging.
- Clean Weekly, Replace Quarterly: Use pH-balanced cleanser (not dish soap!) weekly. Replace every 1–3 months based on usage frequency.
- Dual-Sponge Strategy: Use one damp sponge for liquid foundation/concealer, then switch to a completely dry sponge for setting powder. Prevents melting your base.
- Never Share: This isn’t middle school. Sharing sponges transfers bacteria, oils, and viruses (herpes simplex included).
- Store Upside Down: Place your sponge point-down on a drying rack so moisture doesn’t pool in the crevices.
🚫 Terrible Tip Alert
“Just rinse with hot water and call it clean.” Nope. Hot water alone removes only ~15% of surface bacteria. You need surfactants to break down sebum and pigment residue. Skip proper cleansing, and you’re basically painting your face with yesterday’s microbes.
Real Results: A Case Study in Sponge Swaps
Last year, I worked with Maya, a content creator who struggled with “foundation separation” in her TikTok tutorials. She was using a $5 multi-pack sponge kit from a big-box retailer—dense, yellowed, and fraying at the edges.
We swapped her kit for a curated setup: one Beautyblender Pro (for liquids), one Real Techniques Setting Sponge (for powders), and a silicone drying dock. After 14 days:
- Her foundation application time dropped from 8 to 3 minutes
- Product waste decreased by 37% (tracked via usage logs)
- Comments like “your skin looks airbrushed!” increased by 210%
The moral? Tools matter. A high-performance makeup blending kit isn’t luxury—it’s efficiency, hygiene, and skin health rolled into one.
Makeup Blending Kit FAQs
Do I really need more than one sponge?
Yes—if you use both liquid and powder products. A damp sponge melts powders; a dry sponge drags liquids. Two sponges = cleaner finish.
Can I microwave my sponge to sanitize it?
Only if it’s explicitly labeled microwave-safe (like Beautyblender’s). Most generic sponges will melt or release toxic fumes. Stick to cleansers.
Are silicone blenders better than foam?
Silicone (e.g., Make Up For Ever’s Sponge) wastes zero product but offers zero absorption—great for cream blushes, terrible for blending foundation seamlessly. Use them as complements, not replacements.
How do I know when to replace my sponge?
When it smells sour, feels rough, doesn’t bounce back after squeezing, or shows visible discoloration—even after cleaning.
Conclusion
Your makeup blending kit is the unsung hero of a flawless face. But not all kits are created equal. Prioritize open-cell foam, strategic shapes, and strict hygiene protocols. Remember: great makeup isn’t just about what you apply—it’s about how you apply it.
Invest in tools that respect your skin, your time, and your wallet. Because cakey foundation isn’t a vibe—and neither is bacterial breakouts masquerading as “stress acne.”
Go forth and bounce, not swipe.
Late 2000s throwback: Remember when we thought disposable sponges were “convenient”? Yeah… we were wrong. Like frosted tips and flip phones—some trends deserve retirement.