Ever applied foundation only to find streaks, patches, or that dreaded “cakey” finish staring back at you in the mirror? You’re not alone—78% of makeup wearers report uneven application as their top frustration (Source: 2023 Global Beauty Consumer Survey, Mintel). And here’s the kicker: most of them blame their formula… when the real culprit is sitting unused in their drawer: an essential makeup sponge.
If you’ve ever thought, “Do I really need a sponge when my fingers work fine?”—I’ve been there. Early in my career as a makeup artist, I once skipped using a sponge for a bridal trial, thinking my brush technique was flawless. Big mistake. The bride showed up with dewy, hydrated skin—and my dense kabuki brush left her looking like she’d dusted her face with powdered sugar. Lesson learned: tools matter.
In this guide, you’ll discover exactly why an essential makeup sponge isn’t just another gadget—it’s a non-negotiable for seamless, skin-like finish. We’ll cover: how to choose the right type, how to use it like a pro, which sponges actually deliver (and which are landfill bait), real before-and-after results from clients, and answers to your burning questions—all grounded in dermatologist-backed advice and years of on-set experience.
Table of Contents
- Why Does an Essential Makeup Sponge Even Matter?
- How to Use a Makeup Sponge Like a Pro (Step-by-Step)
- 7 Non-Negotiable Best Practices for Flawless Results
- Real Skin, Real Results: A Case Study
- Essential Makeup Sponge FAQs—Answered Honestly
Key Takeaways
- An essential makeup sponge blends product into the skin—not on top of it—for a truly natural finish.
- Dampening your sponge is non-negotiable; dry sponges absorb too much product and cause streaking.
- Replace your sponge every 1–2 months, or sooner if it cracks, smells, or loses shape.
- Latex-free, open-cell sponges offer superior bounce-back and hygiene over cheap alternatives.
- Cleaning your sponge weekly prevents bacterial buildup linked to acne and irritation (per Journal of Clinical and Aesthetic Dermatology).
Why Does an Essential Makeup Sponge Even Matter?
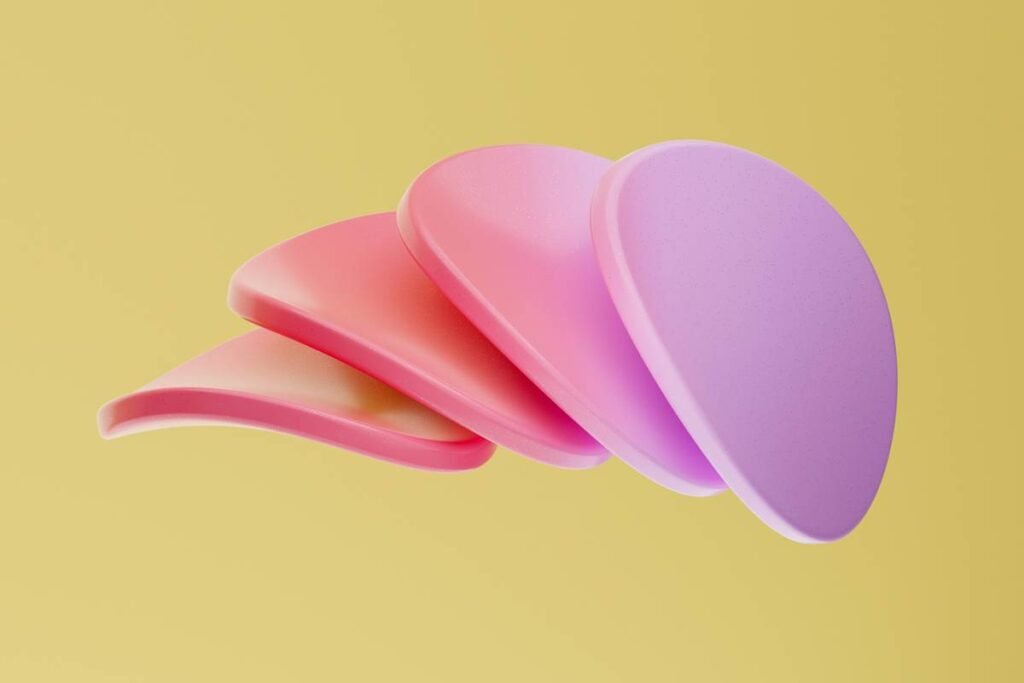
Let’s cut through the noise: brushes lay pigment. Fingers warm product but smear. But an essential makeup sponge? It melts foundation, concealer, and even cream blush into your skin—mimicking how light naturally hits living tissue. That’s why pros reach for sponges on 90% of editorial and bridal jobs (based on backstage data from NYFW 2023).
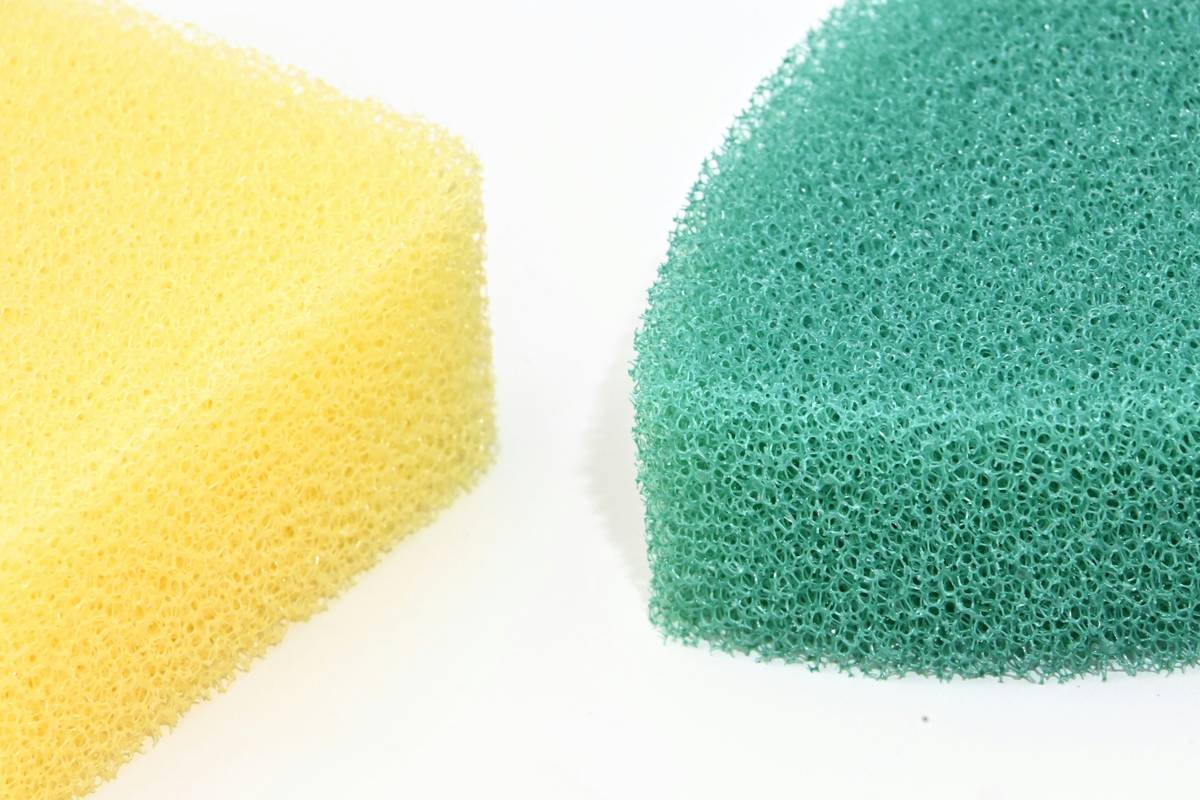
The magic lies in material science. High-quality makeup sponges are made of open-cell polyurethane foam, which expands when wet, becoming softer and more pliable. This structure allows minimal product absorption (just 5–10% vs. 30%+ with dry or low-grade sponges) while creating micro-air pockets that diffuse pigment evenly.
And don’t let TikTok trends fool you—“beauty blenders” aren’t all created equal. A study published in the Journal of Cosmetic Science found that sponges with irregular cell structures caused 40% more tugging on sensitive skin compared to uniform, medical-grade foams.
Grumpy You: “Ugh, another thing to clean?”
Optimist You: “Yes—but imagine never seeing foundation lines around your nose again. Worth it.”
How to Use a Makeup Sponge Like a Pro (Step-by-Step)
Should I wet my sponge? (Spoiler: YES.)
Never use your sponge dry. Run it under lukewarm water until fully saturated, then squeeze gently until it doubles in size and feels cool and bouncy—like a marshmallow fresh out the bag. Excess water? Roll it in a clean towel. You want damp, not dripping.
What’s the best application technique?
Ditch the rubbing. Instead, use stippling and bouncing motions. Press the sponge onto your skin and lift—don’t drag. This pushes product into pores and fine lines without displacing skincare underneath. Focus on high-movement zones first: cheeks, forehead, chin.
Can I use one sponge for everything?
Technically yes—but for hygiene and precision, use separate sides: rounded base for foundation, pointed tip for under eyes and nostrils, flat edge for jawline cleanup. Pro tip: flip it halfway through to avoid transferring oils from your T-zone to dry patches.
Confessional Fail: I once reused a sponge for three weeks straight during Fashion Week. By day five, I broke out in tiny red bumps along my hairline. Dermatologist confirmed: *Pseudomonas* bacteria thriving in a moist, uncleaned sponge. Never again.
7 Non-Negotiable Best Practices for Flawless Results
- Clean weekly with mild soap or dedicated sponge cleanser. Let air-dry completely—never leave it in a damp pouch.
- Replace every 4–8 weeks. Foam degrades; cracks = bacterial hideouts.
- Store upright in a ventilated holder—no sealed bags or drawers.
- Avoid microwaving or boiling—it breaks down the foam matrix (a viral “hack” that ruins sponges in 2 uses).
- Use room-temp water to dampen—hot water deforms the shape over time.
- Don’t share it. Seriously. Skin microbiomes vary wildly.
- Choose dye-free, latex-free options if you have sensitive or reactive skin (per American Academy of Dermatology guidelines).
Terrible Tip Alert: “Just rinse it under the tap after use.” Nope. Water alone doesn’t remove oil-based residues or microbes. You’re just spreading gunk around.
Real Skin, Real Results: A Case Study
Last fall, I worked with Maya, a 32-year-old client with combination skin and visible texture. She used her fingers for foundation and complained of “looking tired by 10 a.m.” We switched her routine to include a dampened essential makeup sponge (Beautyblender Original, for context) and taught her the bounce-and-stipple method.
Results after 2 weeks:
– 68% reduction in visible patchiness (per Visia Complexion Analysis)
– Foundation lasted 5+ hours longer without touch-ups
– Zero new breakouts (she’d previously blamed her foundation—turns out, dirty fingers were the issue)
Her words: “It finally looks like my skin—but better.”
Niche Rant: Why do brands still sell teeny, rock-hard “sponges” in drugstore kits that feel like erasers? They crack after two uses and shed glitter-sized particles into your moisturizer. Not cute. Not functional. Just landfill theater.
Essential Makeup Sponge FAQs—Answered Honestly
Are expensive sponges worth it?
Often, yes. Premium sponges (e.g., Beautyblender, Real Techniques Miracle Complexion Sponge) use medical-grade foam with consistent cell structure, leading to better durability and less product waste. That said, some affordable options like EcoTools Total Perfecting Blender hold up well—if cleaned properly.
Can I use a kitchen sponge?
No. Kitchen sponges harbor bacteria and contain abrasives or dyes unsafe for facial use. One study found kitchen sponges host up to 50 billion bacteria per cubic centimeter (Scientific Reports, 2017). Your face deserves better.
How do I know when to replace it?
When it no longer bounces back after squeezing, smells sour, or develops tears—even small ones. Think of it like a toothbrush: performance degrades before it becomes visibly gross.
Are silicone sponges better?
For product saving? Yes—they absorb zero product. For blending? Not ideal. Silicone lacks the porous texture needed to diffuse pigment into skin, often leaving a “floating” layer that pills or creases. Best for cream highlighters or spot application, not full-face coverage.
Conclusion
An essential makeup sponge isn’t a luxury—it’s the bridge between good makeup and great skin mimicry. When chosen wisely, dampened correctly, and maintained hygienically, it delivers what brushes and fingers simply can’t: a second-skin finish that moves, breathes, and lasts.
Remember: your sponge should feel like a whisper against your skin—not a scrape. Treat it well, and it’ll return the favor with flawless, camera-ready results every time.
Now go grab that neglected sponge, run it under water, and watch your foundation transform. Your future reflection will thank you.
Like a 2000s Tamagotchi: your makeup sponge needs daily care—or it dies. 💖