You spent $40 on foundation. You practiced blending for weeks. Yet your skin still looks patchy, streaky, or—worst of all—cakey by noon. The culprit? It’s not your formula. It’s your beauty sponge tool. Most people treat it like a disposable kitchen item—squeeze, swipe, toss. But that wet lump of foam is doing more harm than good if you don’t know the rules.
The Core Problem: Why Your Beauty Sponge Tool Fails You
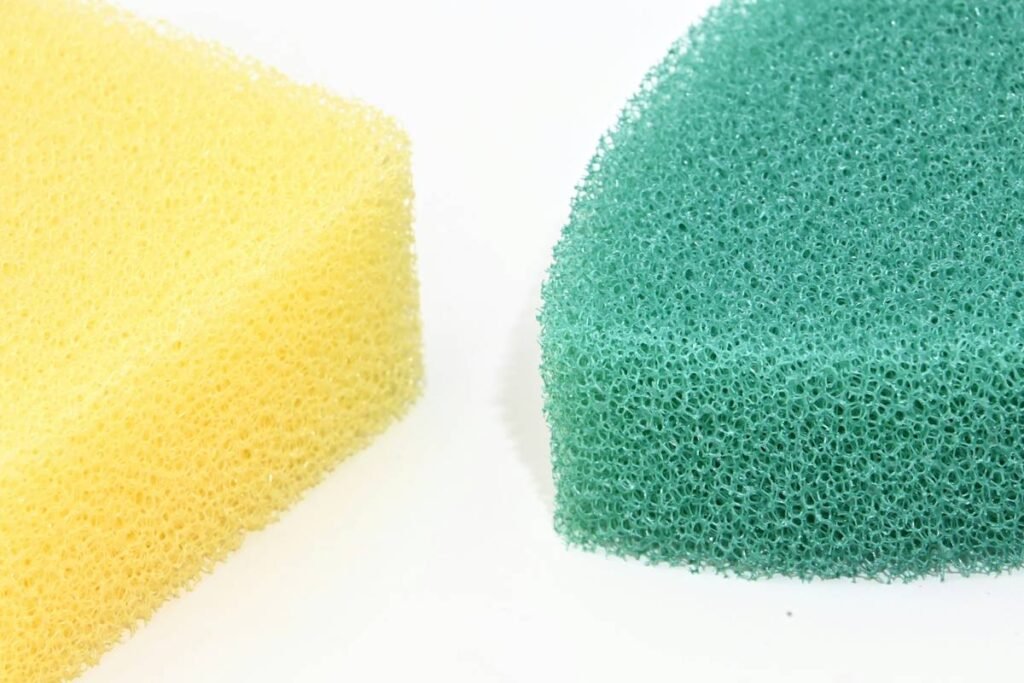
Beauty sponges absorb product. Not a little. A lot. Up to 30% of your liquid foundation vanishes into its porous matrix before it ever touches your face. And if you’re using it dry? You’re dragging pigment across dehydrated skin—spreading coverage like sandpaper over silk.
Worse yet, most users never clean them properly. Bacteria builds up in those tiny nooks. Breakouts follow. And that “dewy finish” you chase? Turns greasy within hours because residual oils from yesterday’s application mix with today’s SPF.
How to Use a Beauty Sponge Tool Like a Pro (Without Wasting Product)
Forget what influencers demo in 15-second reels. Real makeup artists follow a ritual—not a trend. Here’s the unfiltered playbook:
Hydrate It Right—Not Just “Wet”
Rinse your sponge under lukewarm water until it expands fully. Then squeeze out excess—not bone-dry, but damp like a wrung-out towel. Too much water dilutes pigment. Too little creates drag.
Bounce, Don’t Drag
Press and release. Never swipe. Swiping pulls product away from high points and piles it into fine lines. Bouncing deposits even layers while preserving skin texture.
Clean After Every Single Use
Use a gentle antibacterial soap or dedicated sponge cleanser. Microwave tricks? Skip them—they degrade foam integrity. Air-dry upside down on a rack to prevent mold in the base.
| Method | Product Waste | Finish Quality | Longevity on Skin |
|---|---|---|---|
| Dry sponge application | Low (but uneven) | Streaky, matte patches | 2–3 hours |
| Over-saturated sponge | High (up to 40%) | Diluted, sheer coverage | 4–5 hours |
| Properly dampened sponge | Minimal (5–10%) | Seamless, skin-like | 8+ hours |
Replace It—Before It Betrays You
No sponge lasts forever. Even with perfect care, the open-cell structure breaks down after 2–3 months. When edges start crumbling or it won’t fully expand? Toss it. Holding onto a degraded sponge is false economy.

The Industry Secret: Shape Matters More Than Material
Everyone obsesses over latex-free vs. hydrophilic foam. But here’s what brands won’t tell you: the cut determines performance. A teardrop shape? Useless for under-eyes. A flat edge? Critical for jawline contouring. Top-tier MUAs keep three sponges: one rounded for cheeks, one edged for precision, one mini for concealer.
And—this is key—never buy a sponge with a pointed tip. That “precision point” compresses instantly under pressure, creating a harsh line instead of a gradient. Rounded tapers blend. Points stamp.
Frequently Asked Questions
Can I reuse a beauty sponge tool without washing it?
No. Residual makeup breeds bacteria, leading to breakouts and inconsistent application. Wash after every use—takes 60 seconds.
Does a beauty sponge tool work better than a brush?
For liquid foundations aiming for natural finish—yes. Brushes give higher coverage; sponges give higher realism. Choose based on desired result, not hype.
How often should I replace my beauty sponge tool?
Every 8–10 weeks with daily use. If it smells off, loses elasticity, or sheds—replace immediately, regardless of timeline.