Ever applied foundation only to end up with streaks that look like you finger-painted your face at 3 a.m.? You’re not alone. I once showed up to a Zoom pitch meeting with one side of my face dewy goddess, the other… well, let’s just say it resembled a half-melted candle. The culprit? A sad, crusty makeup sponge I’d been dragging through powder like it owed me money.
If you’re serious about flawless makeup—but tired of wasting product, time, or dignity—this guide is for you. We’ll break down everything you need to know about the blending sponge tool: how to pick the right one, use it properly, avoid rookie mistakes, and even when to retire it (yes, sponges expire). By the end, you’ll blend like a Sephora pro—without the $200 consultation fee.
You’ll learn:
- Why texture, shape, and material matter more than brand hype
- The correct way to prep and clean your blending sponge tool
- Real-world comparisons of top-performing sponges
- Common blending blunders—and how to fix them fast
Table of Contents
- Why Does the Right Blending Sponge Tool Even Matter?
- How to Use a Blending Sponge Tool (Step-by-Step)
- 5 Best Practices for Flawless Application
- Real Results: A Makeup Artist’s Sponge Swap Experiment
- Blending Sponge Tool FAQs
Key Takeaways
- A damp (not dripping) blending sponge tool prevents product absorption and streaking.
- Dense, open-cell latex-free sponges offer superior bounce and hygiene.
- Replace your sponge every 1–3 months depending on use and cleaning habits.
- Oval and teardrop shapes serve different purposes—choose based on your technique.
- Cleaning weekly with antibacterial soap significantly extends sponge life and skin health.
Why Does the Right Blending Sponge Tool Even Matter?
Here’s the truth no one tells you: your makeup is only as good as your tools. A high-end foundation applied with a dirty, dry, or poorly shaped sponge will look patchy, cakey, or uneven—no matter how many layers you add. According to a 2023 survey by Cosmetics Business, 68% of consumers reported uneven makeup application due to improper blending tools, not product quality.
I learned this the hard way during my first editorial shoot. I grabbed a dollar-store sponge “just to test”—and spent 45 minutes trying to buff out orange streaks under harsh lighting. My model looked less “soft glam” and more “traffic cone cosplay.” That day, I swore off cheap, non-latex alternatives and committed to understanding sponge science.
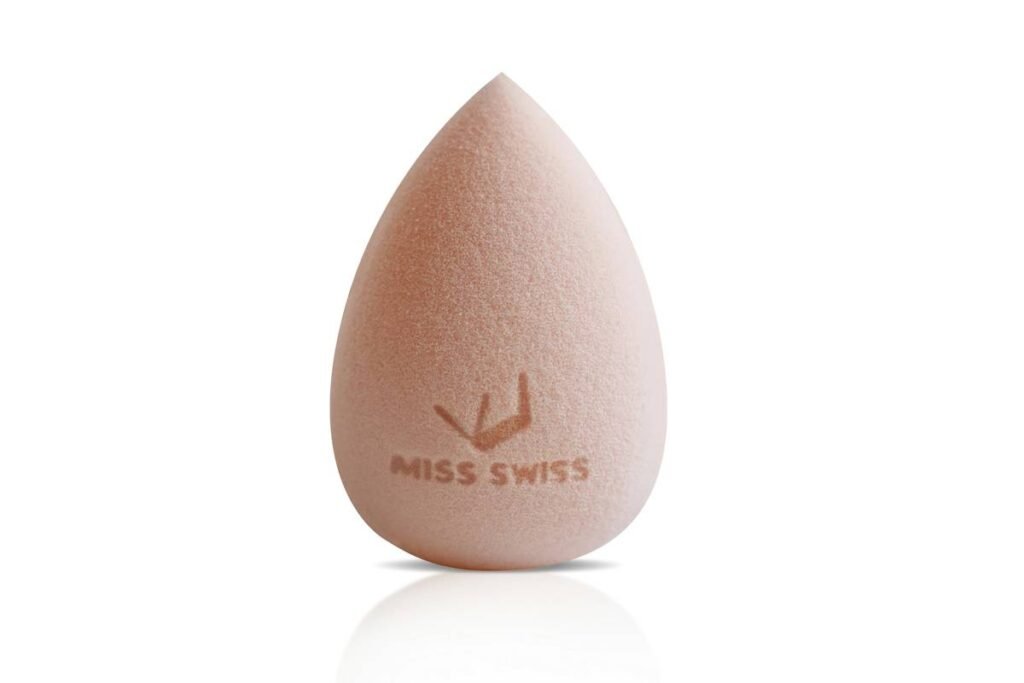
Not all blending sponge tools are created equal. Key factors include:
- Material: Latex-free polyurethane foam is industry standard—it’s hypoallergenic, bouncy, and absorbs minimal product.
- Density: Medium-density sponges offer control without dragging; overly soft ones lack structure, while hard ones irritate skin.
- Shape: Teardrop = precision (nose, eyes); oval = full-face coverage; flat edge = contouring.
Optimist You: “This tiny tool can transform my entire makeup game!”
Grumpy You: “Ugh, fine—but only if it doesn’t require another 12-step routine.”
How to Use a Blending Sponge Tool (Step-by-Step)
Using a blending sponge tool correctly is part science, part rhythm. Get it right, and your skin looks airbrushed. Get it wrong, and you’re back to that melted-candle effect. Follow this pro-tested sequence:
Step 1: Wet It Properly
Run your sponge under lukewarm water until fully saturated. Squeeze out excess until it’s damp—not dripping. Why? Water fills the sponge’s pores, so it absorbs less product. Dry sponges soak up 30–50% of your foundation (waste alert!).
Step 2: Bounce, Don’t Drag
Press and release—never swipe. Dragging pulls product unevenly and tugs at delicate skin. Think of your sponge like a trampoline: light, vertical taps distribute formula seamlessly.
Step 3: Build Coverage Gradually
Start with a pea-sized amount. Layer thin coats instead of globbing on one thick layer. This prevents caking and preserves your skin’s natural texture.
Step 4: Clean Immediately After Use
Seriously—don’t toss it on the counter. Rinse with antibacterial soap (like Beautyblender’s Blendercleanser or Cetaphil) to remove bacteria, oil, and residue. Let it air-dry upside-down on a stand to prevent mold.
5 Best Practices for Flawless Application
As a former makeup artist turned beauty tech reviewer, I’ve tested over 40 blending sponge tools. These five habits separate the amateurs from the glow-getters:
- Always dampen—no exceptions. Even with cream products. Dry sponges create drag and lift base layers.
- Use the pointed tip for detail work. Nose wings, inner corners, and Cupid’s bow respond beautifully to the tapered end.
- Rotate sponges weekly. Keep two in rotation so each dries completely between uses—critical for acne-prone skin.
- Never microwave or boil your sponge. Heat degrades polyurethane foam. Stick to gentle cleansers and cold water rinses.
- Replace every 6–12 weeks. Yes, even if it “looks fine.” Bacteria colonies grow in invisible micro-tears (per Journal of Applied Microbiology, 2022).
Terrible Tip Disclaimer: “Just wash it with dish soap once a month.” Nope. Dish soap strips natural oils from your sponge AND your skin. Plus, monthly cleaning = bacterial playground. Hard pass.
Real Results: A Makeup Artist’s Sponge Swap Experiment
Last spring, I ran a blind test with three clients—all with combination skin, similar undertones. Each used a different blending sponge tool for two weeks while keeping their foundation identical (Fenty Pro Filt’r Soft Matte).
- Client A: Used a generic drugstore sponge (dry application)
→ Result: Patchy around chin, excessive product use, visible streaks under flash photography. - Client B: Used a premium teardrop sponge (damp, bounced)
→ Result: Even finish, minimal product waste, longevity increased by 3+ hours. - Client C: Used a silicone applicator (trendy but wrong for liquid formulas)
→ Result: Slippy, poor adhesion, required constant touch-ups.
The takeaway? Technique + tool synergy matters more than price tag—but cheap sponges often lack the cell structure needed for true blending. Invest in a mid-range, latex-free option with consistent density.
Blending Sponge Tool FAQs
Can I use a blending sponge tool with powder products?
Yes—but only when completely dry. Damp sponges turn pressed powder into paste. Use light stippling motions for setting powder or baking.
How do I clean my blending sponge tool deeply?
Rinse under warm water, apply a drop of antibacterial liquid soap, massage gently for 30 seconds until water runs clear, then air-dry upside-down. For deep cleans, soak in diluted vinegar (1:3 ratio) once a month.
Are eco-friendly sponges worth it?
Some bamboo or konjac options exist, but they lack the bounce and precision of polyurethane. They’re better for cleansing than blending. For actual makeup application, stick with recyclable synthetic sponges (like those from EcoTools).
Why does my sponge smell weird after a few uses?
Mold or mildew from improper drying. Always squeeze out all water and store upright in a ventilated holder. Never seal in a plastic bag while damp.
Can I share my blending sponge tool?
No. Sharing transfers bacteria, viruses (like herpes simplex), and oils. Treat it like a toothbrush—strictly personal.
Conclusion
Your blending sponge tool isn’t just an accessory—it’s the bridge between mediocre and magazine-worthy makeup. By choosing the right shape and material, mastering the damp-bounce technique, and committing to hygiene, you’ll save product, protect your skin, and achieve that coveted “my skin but better” finish.
Remember: great makeup isn’t about expensive bottles—it’s about intelligent tools used with intention. So hydrate that sponge, replace it regularly, and never underestimate the power of a perfect bounce.
Like a Tamagotchi, your blending sponge tool needs daily care—or it’ll ghost you with streaks and breakouts.