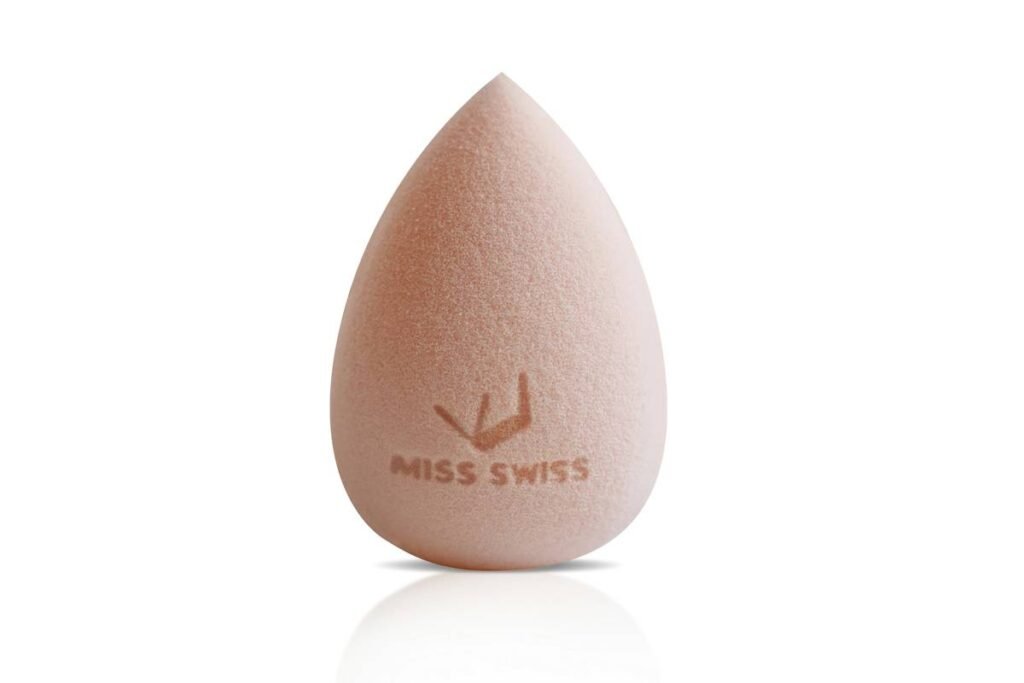
You spend $40 on foundation. Another $25 on concealer. Then you grab that dusty sponge wedged in your drawer—slightly hardened, slightly stained—and wonder why your skin looks cakey by noon. The problem isn’t your products. It’s your makeup blending tool set. Most sets are designed for shelf appeal, not real-world performance. Here’s how to stop wasting money and start achieving seamless, airbrushed results—every single time.
The Harsh Truth About Off-the-Shelf Blending Tools
Stores push “kits” with six sponges in every color of the rainbow. Cute? Sure. Effective? Rarely. Most budget-friendly makeup blending tool sets use low-density polyurethane foam that absorbs product like a paper towel. You lose up to 30% of your liquid foundation before it even hits your skin. And don’t get me started on those mini stippling brushes—they fray after three washes.
And here’s what brands won’t tell you: shape matters more than size. A rounded dome works for cheeks, but flat edges? Useless for under-eye precision. Yet nearly every generic set includes them. The math is simple—if your tools can’t adapt to facial contours, your makeup never will.
Your Step-by-Step Guide to a Functional Blending Arsenal
Choose Density Over Design
High-density latex-free sponges retain less product and bounce back faster. Look for rebound time under 2 seconds—test it by pressing firmly and watching it snap back.
Wet vs. Dry: Know When to Switch
Wet application = sheer, natural finish. Dry = full coverage for spot-concealing or cream blush. But never use the same sponge both ways without washing. Oil and water don’t mix—and neither do your skincare residue and fresh foundation.
Maintenance Is Non-Negotiable
A dirty sponge breeds bacteria. Wash yours weekly with pH-balanced cleanser. Air-dry upright—not flat—to prevent mildew in the core.
| Tool Type | Best For | Product Waste | Lifespan (With Care) |
|---|---|---|---|
| Low-Density Sponge (Standard Kit) | Light powder only | Up to 35% | 3–4 weeks |
| High-Density Latex-Free Sponge | Liquid/cream foundation, concealer | Under 10% | 3–4 months |
| Silicone Blending Pads | Layering without absorption | Nearly 0% | 6+ months |
| Angled Micro-Blender | Nose contour, tear duct highlight | ~12% | 2–3 months |
The Industry Secret: Pros Don’t Use Full Sets—They Build Modular Kits
Here’s what no beauty influencer admits: professional makeup artists rarely buy pre-packaged makeup blending tool sets. Instead, they curate 3–4 specialty pieces based on client needs. A tapered micro-sponge for under-eyes. A firm silicone pad for cream bronzer. A dual-sided blender—one side damp, one dry—for on-the-go touch-ups. This “modular approach” cuts waste, boosts precision, and actually saves money long-term. Think about it: why pay for five useless sponges when you only need two that work?
Frequently Asked Questions
Can I reuse a makeup sponge daily without washing?
No. Bacteria builds up within 24 hours. At minimum, rinse after each use and deep-clean weekly.
Are expensive makeup blending tool sets worth it?
Only if they use medical-grade foam or antimicrobial coatings. Price alone doesn’t guarantee performance—check density specs.
How often should I replace my blending sponge?
Every 8–12 weeks with proper care. If it smells sour or doesn’t expand fully when wet, toss it immediately.