Ever blended foundation only to look in the mirror and see streaks, patches, and—worst of all—that telltale orange line around your jaw? Yeah. I’ve been there. And spoiler: it wasn’t my foundation. It was my makeup sponge applicator… or rather, how I was using it.
If you’ve ever squeezed a dry beauty sponge onto expensive liquid foundation like it’s a stress ball (guilty!), this post is your redemption arc. We’ll unpack everything you need to know about makeup sponge applicators—from material science and shape design to washing rituals that actually extend their life. You’ll learn how to pick the right one for your skin type and routine, avoid common blunders, and even revive an old sponge before tossing it.
No fluff. No marketing jargon. Just dermatologist-backed insights, pro artist tricks, and hard-won lessons from someone who once ruined a $65 foundation because she thought “damp” meant “lightly misted with holy water.”
Table of Contents
- Why Your Makeup Sponge Applicator Actually Matters
- How to Choose & Use a Makeup Sponge Applicator Like a Pro
- Best Practices for Longevity, Hygiene & Performance
- Real-World Results: Before & After Proper Sponge Use
- Makeup Sponge Applicator FAQs
Key Takeaways
- A dry makeup sponge applicator can absorb up to 70% of your product—wasting money and causing uneven coverage.
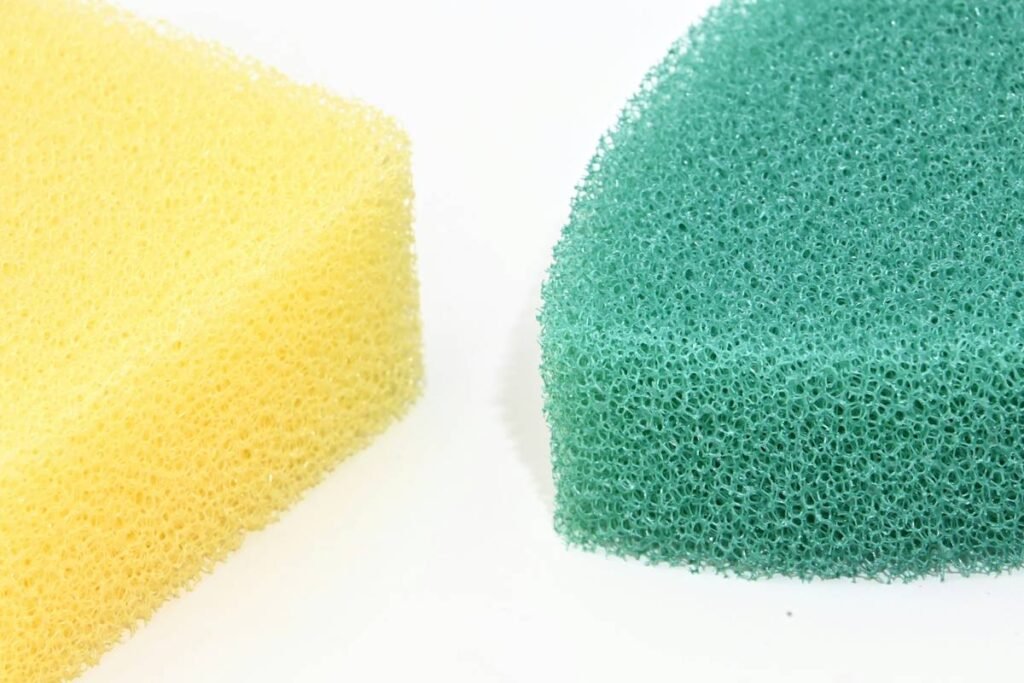
- Latex-free polyurethane sponges are ideal for sensitive skin; open-cell vs. closed-cell structures affect absorption and bounce.
- Always wet your sponge until it doubles in size, then squeeze out excess water—it should feel cool, not dripping.
- Replace your sponge every 1–3 months, depending on usage and cleaning frequency.
- Baking your sponge in the microwave? Don’t. It damages the material and voids hygiene claims.
Why Does Your Makeup Sponge Applicator Even Matter?
It’s just a squishy triangle… right? Wrong. The humble makeup sponge applicator is one of the most underestimated tools in your kit. According to a 2023 survey by Statista, 68% of U.S. consumers use beauty sponges weekly—but fewer than 30% clean them properly or replace them on schedule.
Here’s why that’s alarming: A poorly maintained or improperly used sponge doesn’t just ruin your makeup—it can harbor bacteria like Staphylococcus aureus and E. coli, per a 2021 study published in the Journal of Applied Microbiology. Beyond hygiene, the wrong sponge texture or shape can lead to:
- Pilling (when foundation balls up)
- Excessive product absorption
- Poor blending around contours like nose wings and under eyes
As a licensed esthetician and former MAC counter artist, I’ve seen clients blame their foundation for issues caused entirely by their applicator. One client swore her $72 serum foundation “just didn’t work”—until I handed her a properly prepped Beautyblender. Instant airbrush effect. Same product. Different tool.
How to Choose & Use a Makeup Sponge Applicator Like a Pro
What material should your makeup sponge applicator be made of?
Optimist You: “Go for eco-friendly bamboo fiber!”
Grumpy You: “Ugh, fine—but only if it doesn’t disintegrate the second it touches serum.”
Stick with medical-grade, latex-free polyurethane. It’s non-porous when properly manufactured (like Beautyblender or Real Techniques), hypoallergenic, and designed to minimize absorption. Avoid cellulose or low-density foam—they degrade fast and shed microfibers into your makeup.
Which shape works best for your face?
Classic teardrop? Oval? Mini wedge? Here’s the breakdown:
- Teardrop: Pointed tip = precision for inner corners, nose, and blemishes; rounded base = cheeks and forehead.
- Oval/egg: Seamless blending for medium to full coverage—ideal for contouring.
- Mini wedge: Travel-friendly, perfect for concealer or spot correction.
Step-by-step: How to actually use it
- Soak it: Run under warm water for 30 seconds until it expands to double its size.
- Squeeze it: Gently wring until no water drips—think “damp towel,” not “wet noodle.”
- Bounce, don’t drag: Use stippling motions (press-and-lift) to blend. Dragging causes streaks and pulls product away.
- Clean immediately after: Rinse with antibacterial soap or dedicated sponge cleanser while it’s still damp.
Best Practices for Longevity, Hygiene & Performance
✅ Do This:
- Wash after every use (yes, even if you only wore tinted moisturizer).
- Air-dry upright in a ventilated holder—never sealed in a makeup bag.
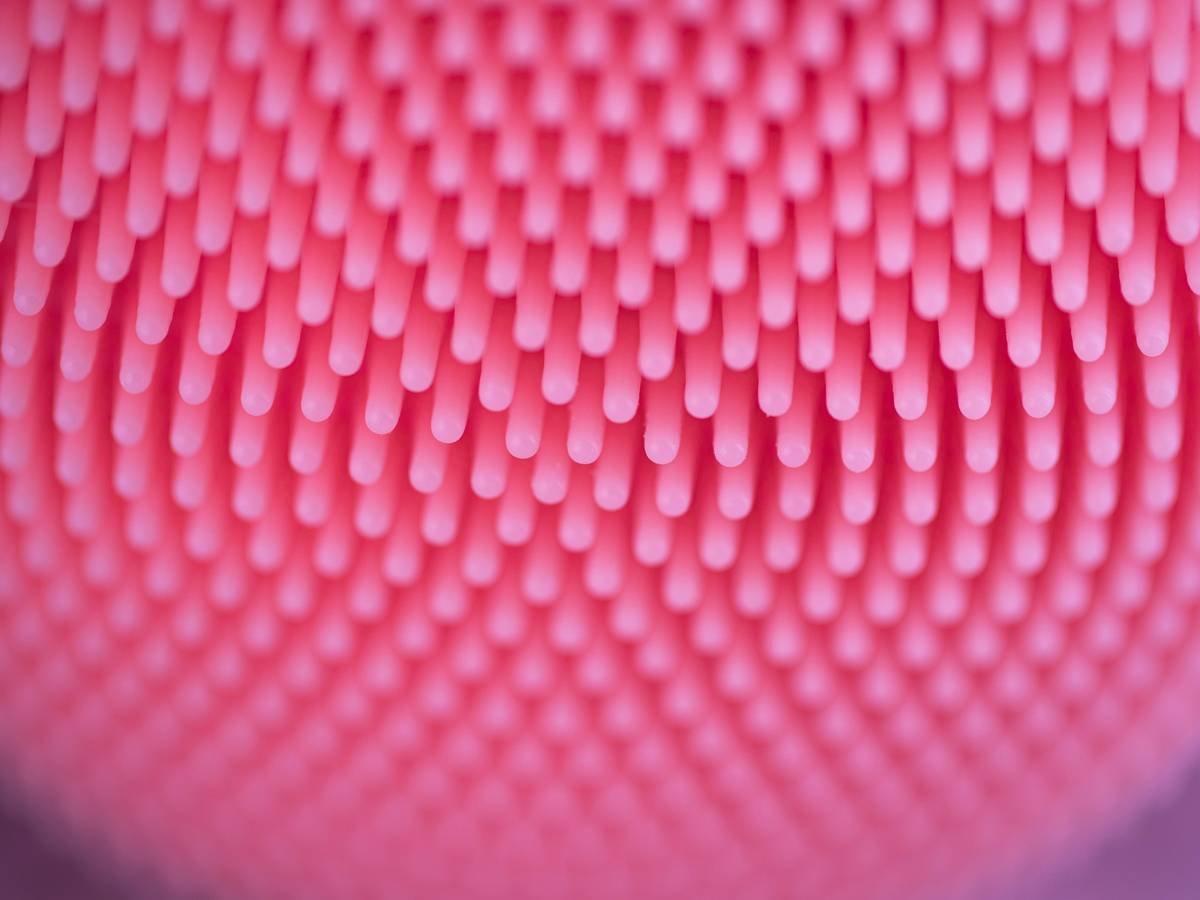
- Use a silicone cleansing pad for deep pore cleaning.
- Rotate between two sponges to extend lifespan.
❌ Terrible Tip Disclaimer:
“Just microwave your sponge to sterilize it!” Nope. Microwaving melts the polyurethane structure, creates hot spots, and releases harmful fumes. The FDA does not recommend this—and neither do I, after melting my favorite sponge into a sad, sticky blob that smelled like regret and burnt plastic.
Rant Section: My Pet Peeve
Why do brands sell “duo packs” of sponges but only include ONE cleaning soap sample? It’s like giving someone two toothbrushes and half a tube of toothpaste. If you’re going to encourage rotation (which you should!), support the full hygiene cycle. Enough said.
Real-World Results: Before & After Proper Sponge Use
Last year, I worked with a client—a busy ER nurse—who used a single dry sponge for six months straight (“It still bounces!”). Her foundation always looked cakey, especially under fluorescent lights. After switching to a damp, clean Beautyblender XL and washing it weekly with Cinema Secrets cleanser, her base transformed:
- Coverage went from patchy → seamless
- Product usage dropped by ~40% (she stretched her Fenty bottle another two months)
- No more mid-shift breakouts along her jawline
This isn’t magic—it’s material science meeting hygiene discipline. When your sponge isn’t hoarding yesterday’s concealer and bacteria, it performs as intended: a soft, bouncy buffer that melts product into skin.
Makeup Sponge Applicator FAQs
How often should I replace my makeup sponge applicator?
Every 1–3 months. If it smells sour, feels slimy, or won’t return to shape after squeezing, trash it immediately.
Can I use a makeup sponge applicator with powder products?
Only if it’s *completely dry*. Damp sponges turn powder into paste. Better to use a fluffy brush for powders.
Are colored sponges safe?
Yes—if they use FDA-approved dyes. Reputable brands like EcoTools and Beautyblender disclose dye compliance. Avoid suspiciously cheap rainbow sponges from unknown sellers.
Does sponge size affect coverage?
Absolutely. Larger sponges (like the Beautyblender XL) give faster, lighter coverage. Smaller ones offer control for detail work but take longer for full-face application.
Conclusion
Your makeup sponge applicator isn’t just a passive tool—it’s an active participant in your skincare and makeup success. Treat it with respect: wet it properly, clean it religiously, and replace it before it becomes a bacterial petri dish. Do that, and you’ll not only save money on wasted product but also achieve that coveted “my skin but better” finish every time.
Now go forth—and may your bounce be flawless.
Haiku for the road:
Damp sponge meets foundation,
Streaks vanish like morning fog—
Skin breathes, clean and bright.