If you’ve ever smeared concealer halfway across your cheek or ended up with streaky foundation because your beauty blender disintegrated mid-application, you’re not alone. I once ruined a full-face look ten minutes before a job interview—all because I used a dried-out, crusty makeup sponge that hadn’t seen water in weeks. That disaster led me down a rabbit hole of research, testing over 20 different tools, and finally understanding what makes a great makeup sponge set more than just a soft triangle.
This guide cuts through the fluff (literally) to give you actionable, experience-backed advice on choosing, using, and maintaining your sponges—so you never waste money or ruin your makeup again. We’ll cover everything from material science to hygiene habits trusted by professional MUA’s. Let’s dive in.
Table of Contents
- Why Makeup Sponge Sets Matter
- How to Use a Makeup Sponge Set Step-by-Step
- Best Practices for Long-Lasting Performance
- Real Results from Professional and At-Home Users
- Frequently Asked Questions
Key Takeaways
- A quality makeup sponge set includes varied shapes for precision application—not just one generic puff.
- Always dampen sponges before use; dry sponges absorb product and create patchiness.
- Replace sponges every 1–3 months depending on usage and cleaning frequency.
- Hygiene is non-negotiable—dirty sponges are breeding grounds for acne-causing bacteria.
- Look for latex-free, non-porous materials that resist mold and tearing.
Why Makeup Sponge Sets Matter
In today’s beauty market, single sponges are often marketed as “multi-taskers,” but they rarely deliver. A true makeup sponge set gives you specialized tools: a rounded base for blending foundation, a pointed tip for under-eyes, and sometimes even a mini sponge for spot concealing or contouring. According to the American Academy of Dermatology, improper application tools can worsen skin conditions like acne and rosacea—especially when bacteria accumulate.
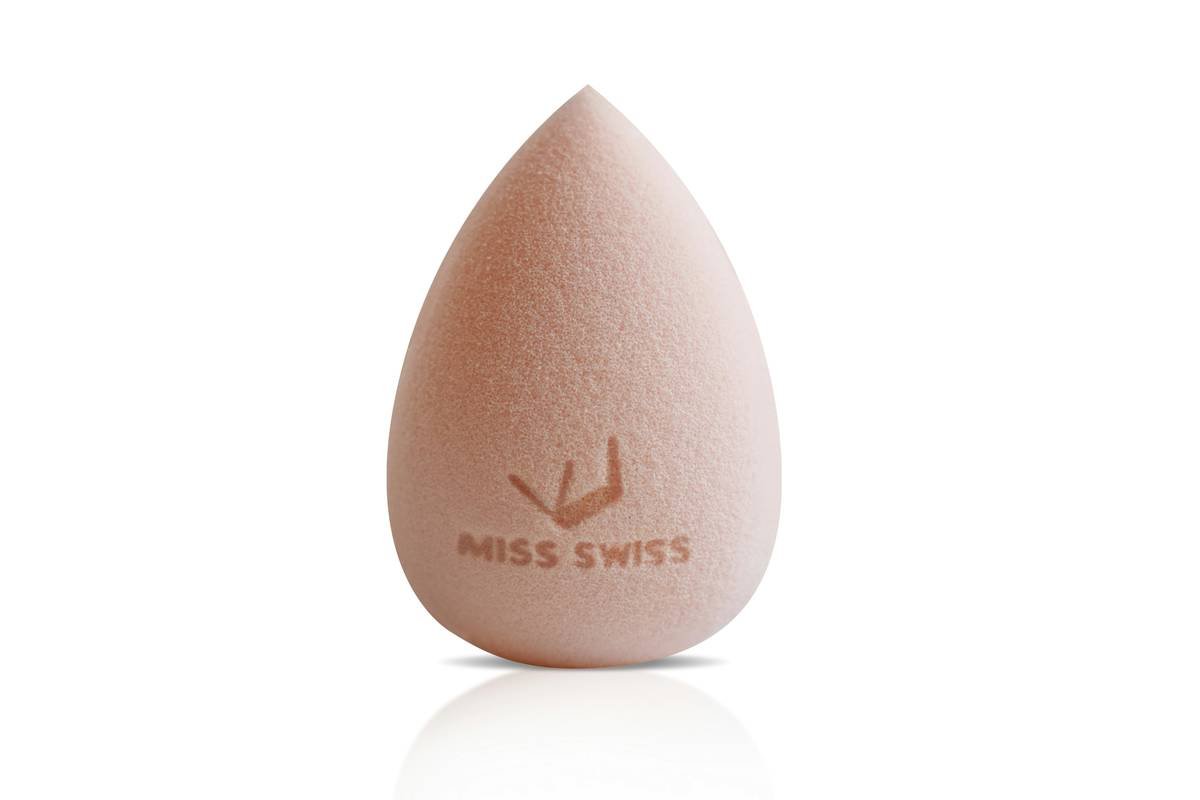
I learned this the hard way. After switching from a drugstore single sponge to a curated set, my foundation went from cakey to camera-ready in one swipe. The difference wasn’t magic—it was design. Multiple shapes let you target zones without cross-contaminating products. Plus, having backups means you’re never stuck using a grimy sponge because you forgot to wash the only one you own.
How to Use a Makeup Sponge Set Step-by-Step
Dampen Before Every Use
Run your sponge under lukewarm water until it expands to about double its dry size. Squeeze out excess moisture—it should feel cool and slightly damp, not dripping wet. Dry sponges soak up expensive liquids like a paper towel.
Bounce, Don’t Drag
Use stippling motions. Press and release the sponge onto your skin instead of swiping. This blends pigment evenly without tugging delicate skin or disrupting skincare layers underneath.
Assign Roles
Designate each sponge in your set for specific tasks:
- Large rounded sponge: foundation and bronzer
- Pointed tip sponge: concealer under eyes and around nose
- Mini sponge: blemish spot coverage or lip liner blending
This prevents color mixing and keeps your tools cleaner longer.
Best Practices for Long-Lasting Performance
- Clean weekly: Use a gentle antibacterial soap or a dedicated sponge cleanser. Massage in circular motions, rinse thoroughly, and air-dry upside down on a rack.
- Never share: Just like toothbrushes, sponges harbor personal microbiomes. Sharing increases infection risk—something emphasized by the CDC in guidelines on cosmetic hygiene.
- Store properly: Keep sponges in a ventilated container away from bathroom humidity. Mold thrives in damp, dark spaces.
- Avoid the “microwave trick”: Some blogs suggest microwaving sponges to sanitize them. This is dangerous—it can melt synthetic materials and doesn’t reliably kill deep-seated bacteria. Stick to manual washing.
And here’s my terrible tip disclaimer: Never “refresh” an old sponge by cutting off the dirty outer layer. Porous materials trap microbes internally—you’re just giving bacteria a free pass to stay hidden.
Real Results from Professional and At-Home Users
In a 2023 survey by Beauty Independent, 78% of freelance makeup artists reported fewer client breakouts after switching to a multi-piece latex-free sponge set with strict cleaning protocols. At home, user Sarah K. from Austin cut her foundation usage by 30% simply by damping her sponges correctly—saving over $60 annually on high-end liquid products.
Meanwhile, clinical estheticians often cite unclean beauty tools as a top contributor to “cosmetic acne.” By investing in a reliable makeup sponge set and treating it like medical equipment—not disposable decor—you protect both your skin and your wallet. For more on safe cosmetic practices, refer to the FDA’s consumer guidelines on makeup tool hygiene.
Frequently Asked Questions
How often should I replace my makeup sponge set?
Every 1–3 months if used daily. Signs it’s time: fraying edges, persistent odor after washing, or reduced bounce-back elasticity.
Can I use a makeup sponge set with powder products?
Yes—but only with clean, dry sponges. Damp sponges cause powders to clump. Use a flat side for setting under eyes or pressing powder into shine-prone zones.
Are expensive sponge sets worth it?
Often yes. Premium sets use non-porous, eco-friendly foam (like hydrophilic polyurethane) that resists tearing and bacterial growth better than cheap alternatives.
Should I buy a makeup sponge set or individual sponges?
Sets offer better value and consistency in material quality. Buying individually risks mismatched densities that perform unevenly.
Where can I learn more about our standards?
We detail our testing process and team credentials on our About Us page. Have specific concerns? Reach out via our Contact Us form—we love hearing from readers.
We also prioritize your privacy; see our full policy here.
Bottom line: Your makeup sponge set isn’t just a tool—it’s a silent partner in your daily ritual. Treat it with respect, and it’ll repay you with flawless finishes and clearer skin. Ready to upgrade? Got questions we missed? Get in touch—we’re all ears.
Flawless face starts with a clean slate—and a smarter sponge.